The MSI X299 XPower Gaming AC Review: Flagship Fantasy
by Joe Shields on May 9, 2018 8:00 AM EST- Posted in
- Motherboards
- Intel
- MSI
- X299
- Basin Falls
- Skylake-X
- i9-7900X
BIOS
We've seen a few MSI BIOSes before, and the XPower Gaming AC's version is really no different than most others we have seen. By default, users are greeted with EZ BIOS as seen below. One thing I just picked up on is that the BIOS remembers what section you were in upon saving (advanced or EZ Mode), the next time entering the BIOS it should do so in the same mode.
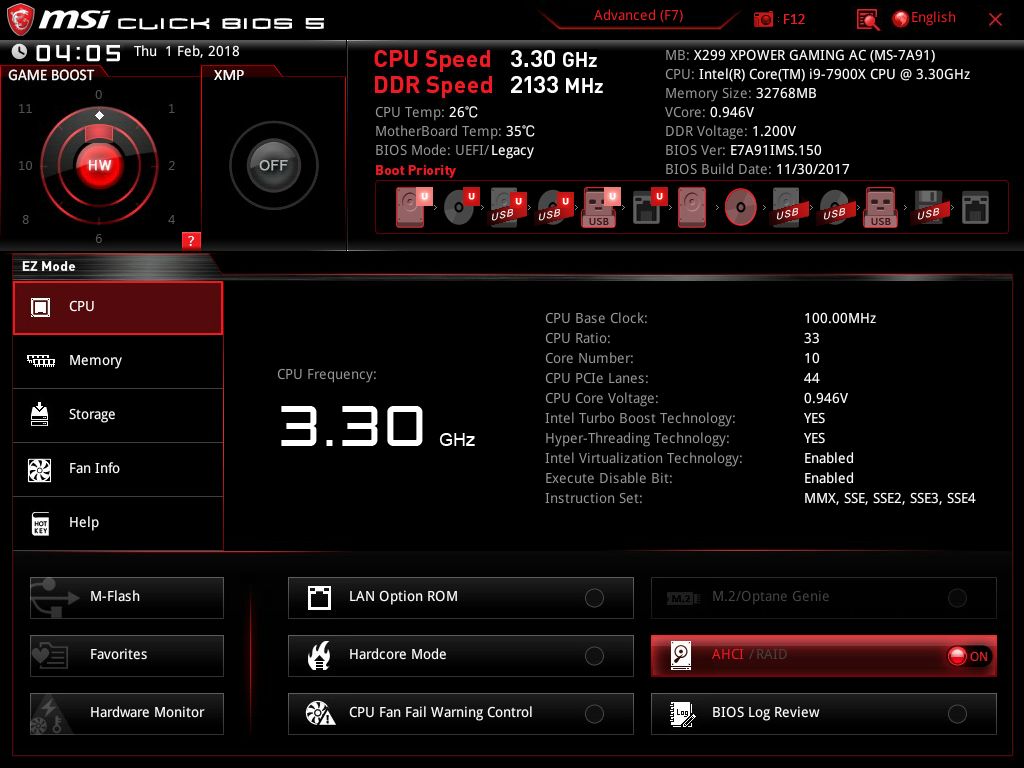
The EZ Mode version of the BIOS displays high-level system information on top such as CPU and DDR Speed and temperatures, BIOS version, XMP, and Game Boost status. Boot priority can be changed by dragging the icons below the system information around and placing them in the order the user would like.
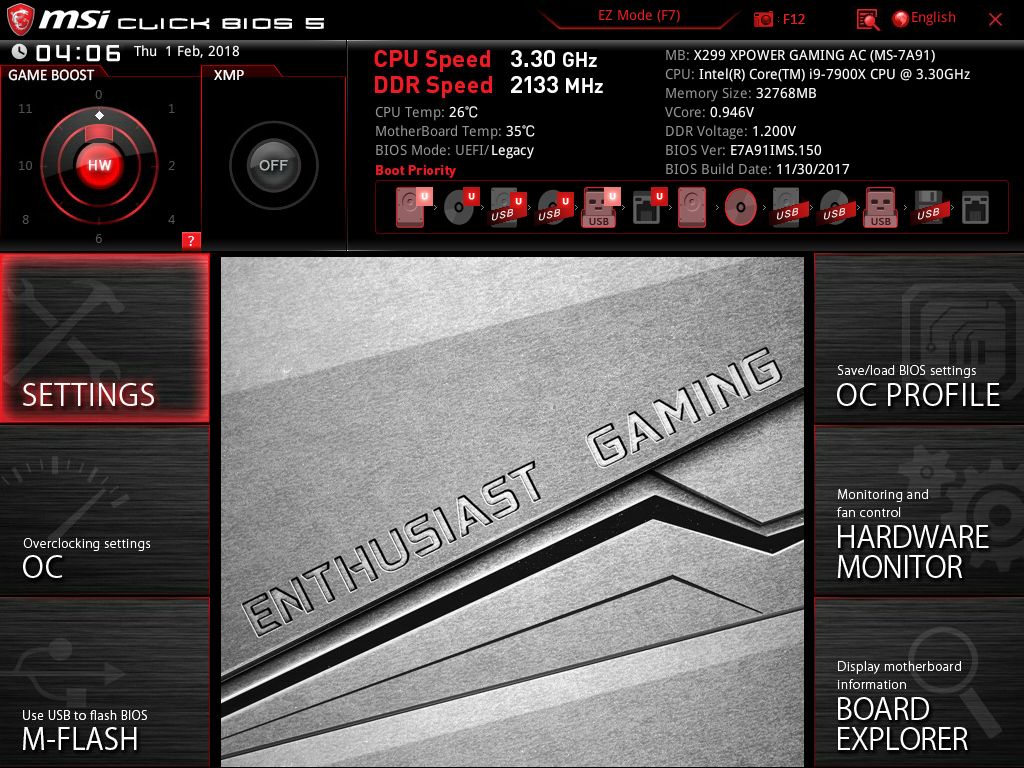
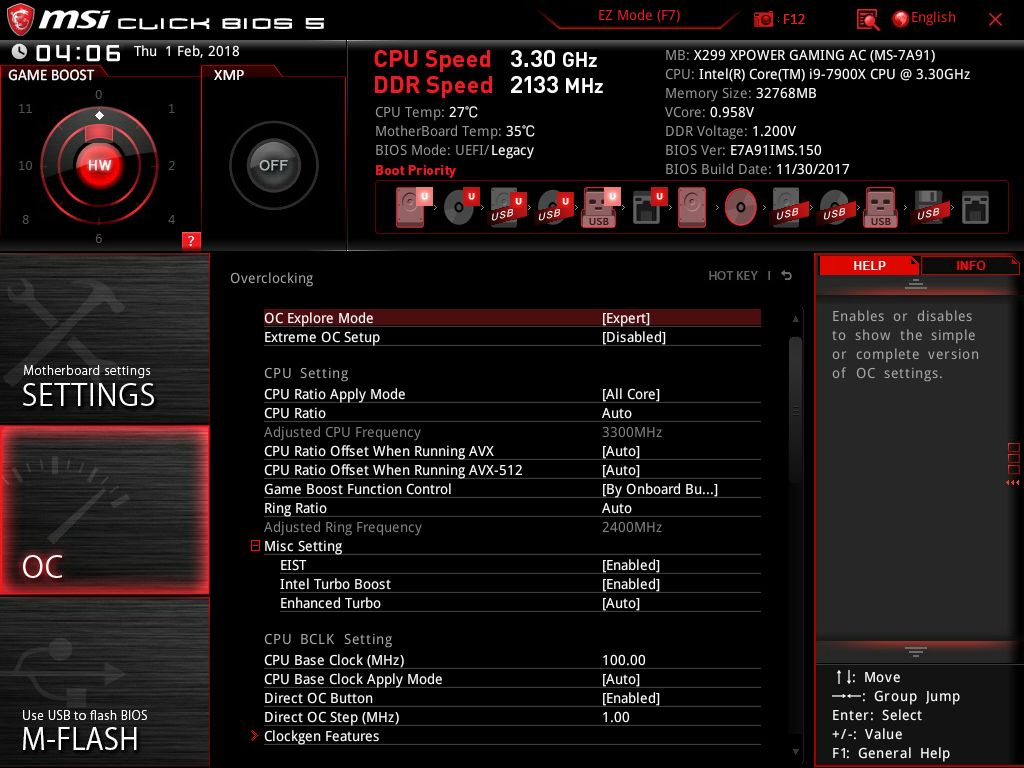
The first screen is shown when entering advanced mode still has the same informational portion up top, but the bottom is now broken down into several sections, each with their own functions.
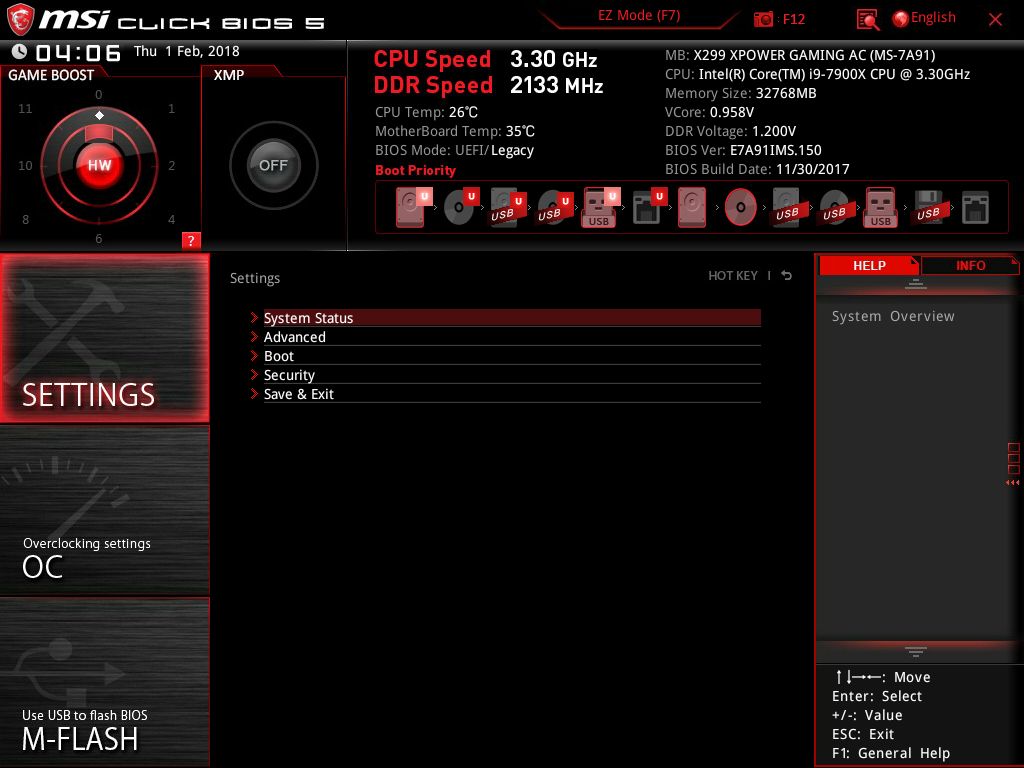
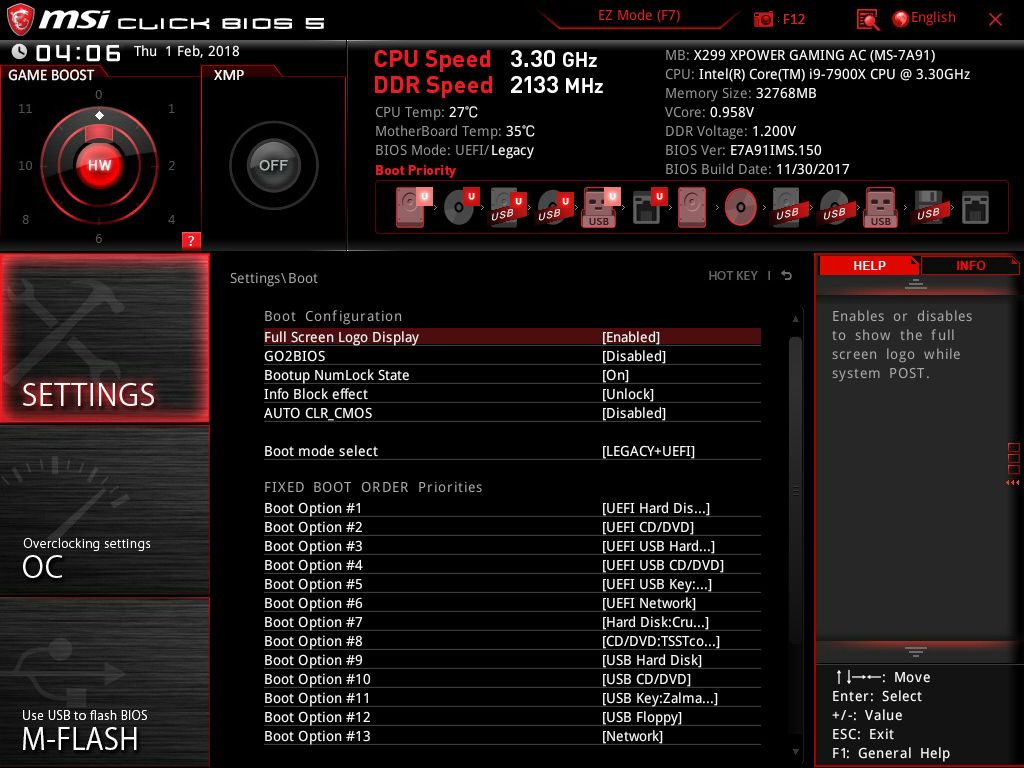
The Settings section has five options below it including System Status, Advanced, Boot, Security, and Save & Exit. Within the advanced section, users are able to control PCI Subsystem functions, VROC, USB and Peripheral configuration, Power Management details, and even gives the ability to Secure Erase a drive.

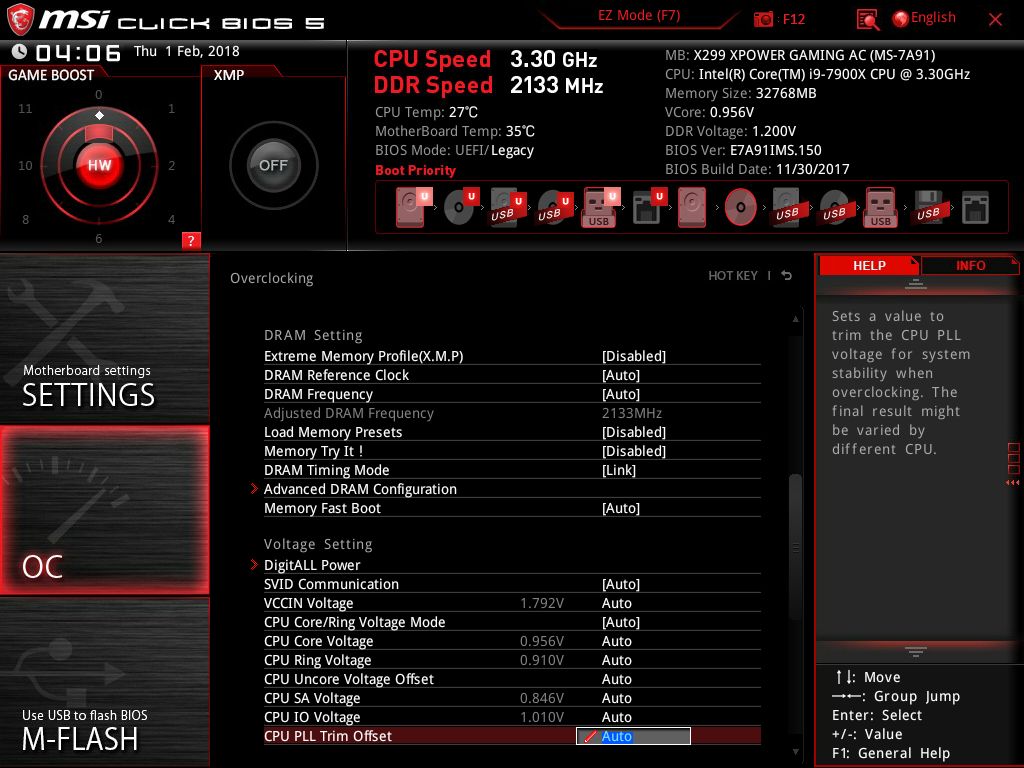
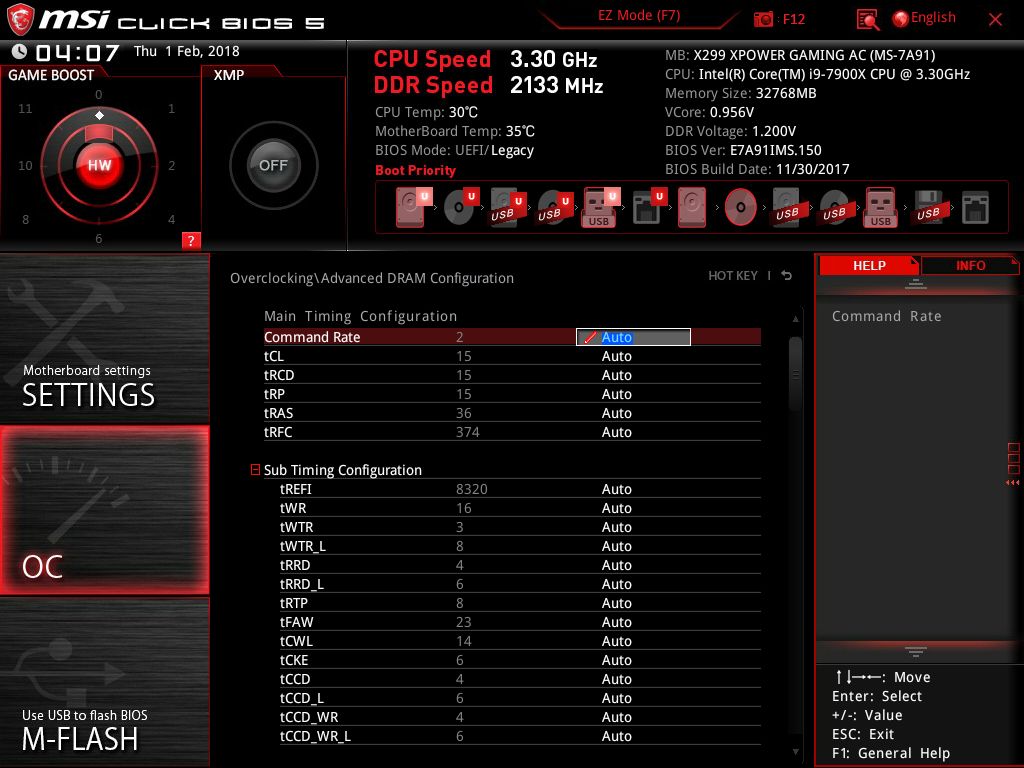
The OC section is where users are able to overclock the system. Like other Click BIOS 5 versions on different boards, there are two options here, Normal and Expert, where expert expands and adds more options for tinkering. Within this section, users will find options to change DRAM, Power settings on the CPU, and other functions related to overclocking.
The OC Profile section is where we are able to save as well as load BIOS profiles.

Options are to save/load them from the internal storage (ROM) or from a USB device. This comes in handy once a stable overclock is found users are able to revert right back to known good settings.

The Hardware Monitor section gives a graphical view of the system status. It displays current voltages of the system, temperatures across several read points on the board, as well as give fan speed status. On top of displaying fan speeds, users are also able to create custom fan profiles for each header.
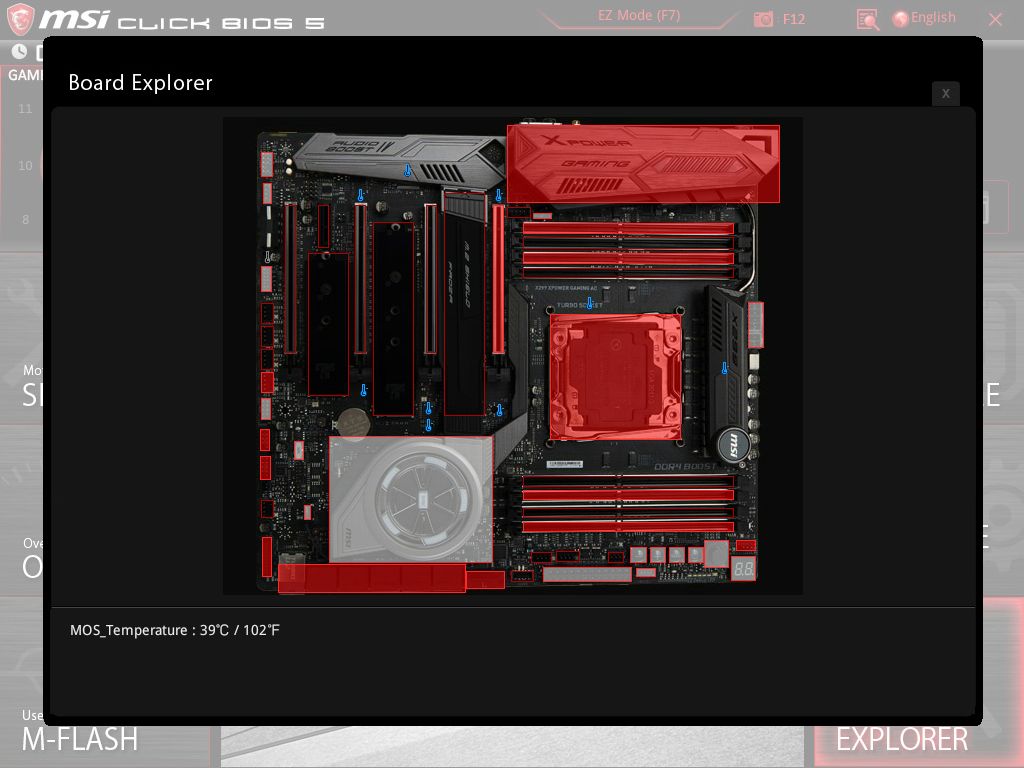
MSI's Board Explorer shows a top-down picture of the motherboard and shows what is plugged into the back panel IO, PCIe, DRAM slots, SATA and U.2 ports, the headers across the bottom, and even display temperatures of the nine sensors located strategically around the board. In this case, I have hovered the mouse over the MOSFET temperature sensor and it reads 39C.


Software
Our first piece of software will be the Driver Disk we received in the box. We can see the first screen contains basic drivers to get the motherboard setup and functioning properly including Intel Chipset, Network, Bluetooth, and Wi-Fi drivers.

It also includes third-party drivers for the Realtek audio and ASMedia SATA drivers. I was able to select the drivers I wanted and installed them without a hitch through the software. Just be aware the driver versions contained on the disk could be older than what the website has.

Speaking of driver versions, MSI's Live Update 6 application is used to keep up with the latest drivers. Upon boot, it will do a quick check of the drivers and compare that to the versions listed on the website. In this case, I capture the screenshot after I ran it so it does not show anything to be updated. This updated the drivers listed without issue.
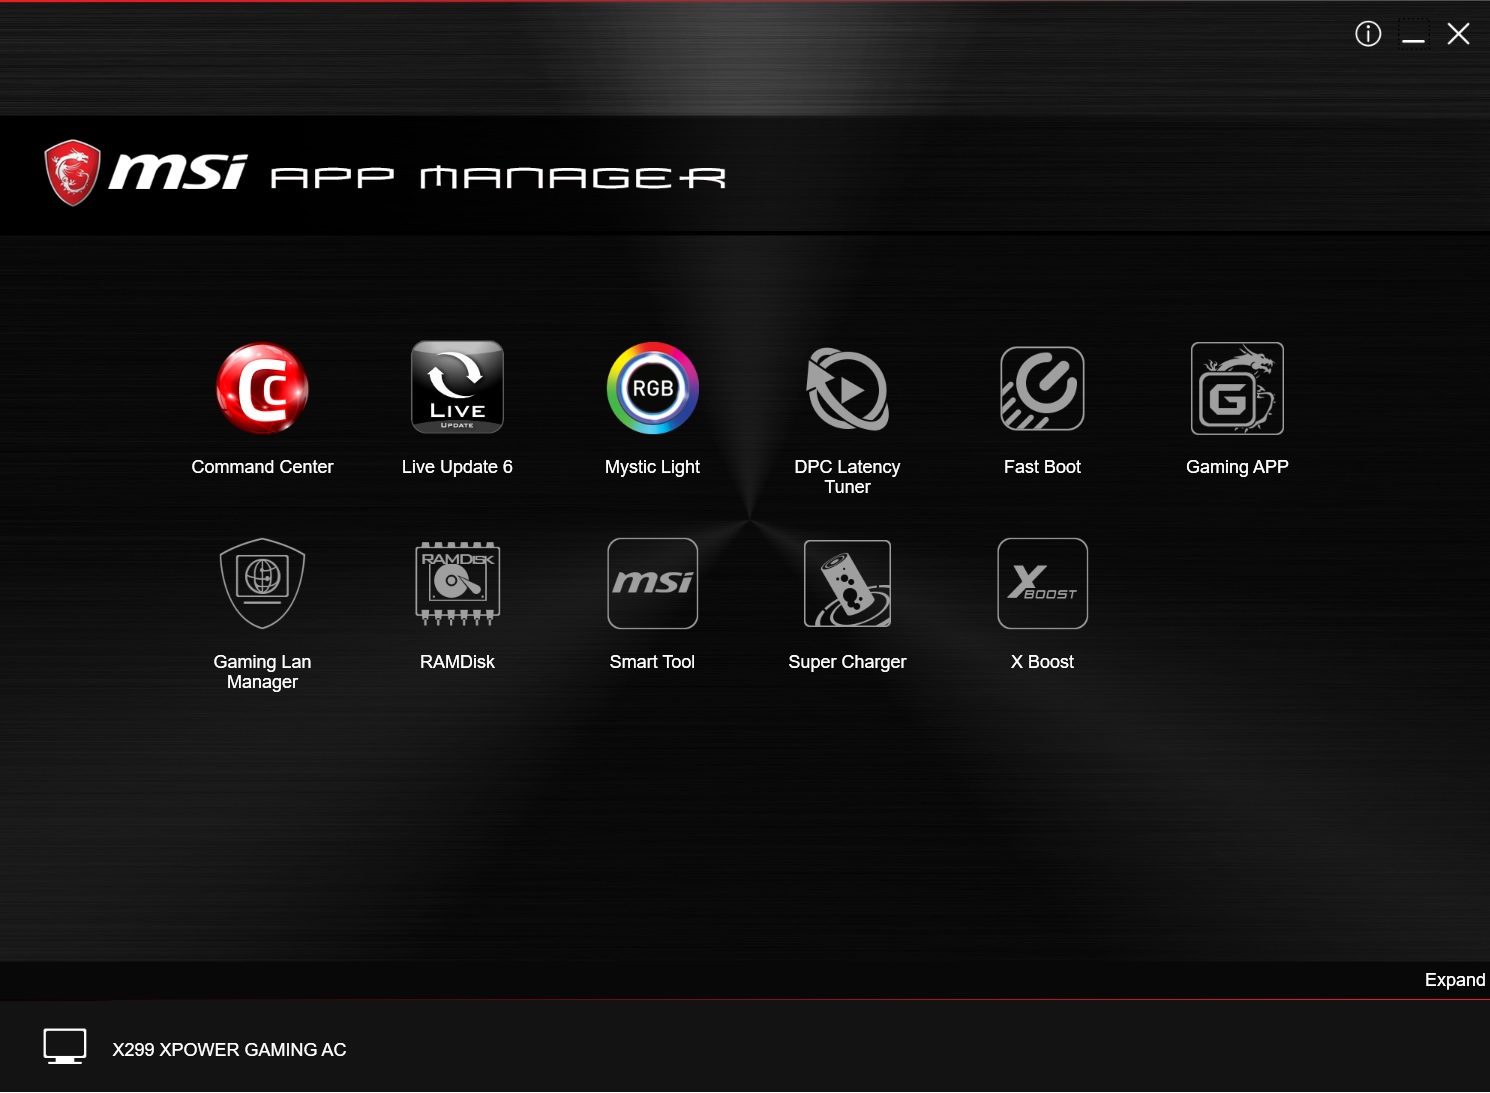
MSI's App Manager is an application which consolidates all MSI apps into one area for ease of access. If the application is installed the icon will appear in color, as above - if the app is not installed, the icon will be black and white. Users are also able to download any applications through the interface. Personally, I do not find these applications very useful as almost all of the apps have their own tray icon, so I can launch it from without the extra step of opening the App Manager.
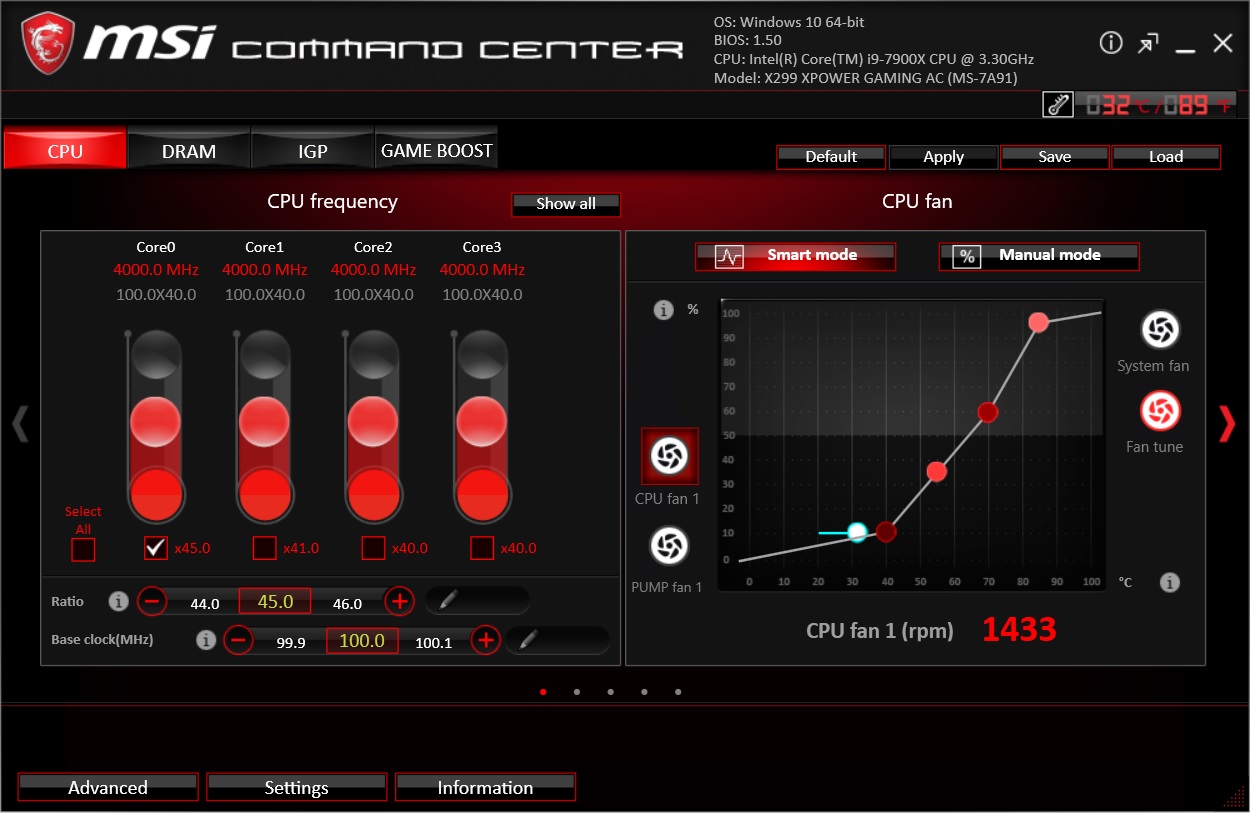
MSI's Command Center is a full function Windows-based application for both monitoring the system, overclocking, and a control center for fans. CC is one of the more thorough tools offering users the ability to adjust their fan speeds and create custom curves, as well as overclock and CPU voltage, BCLK, CPU ratio adjustments, even DRAM timings. I used this tool when I overclocking from 4 GHz to 4.5 GHz in our overclock testing so I wouldn't have to reboot into the BIOS each time I needed a change. The application worked without issue with the things I tried.
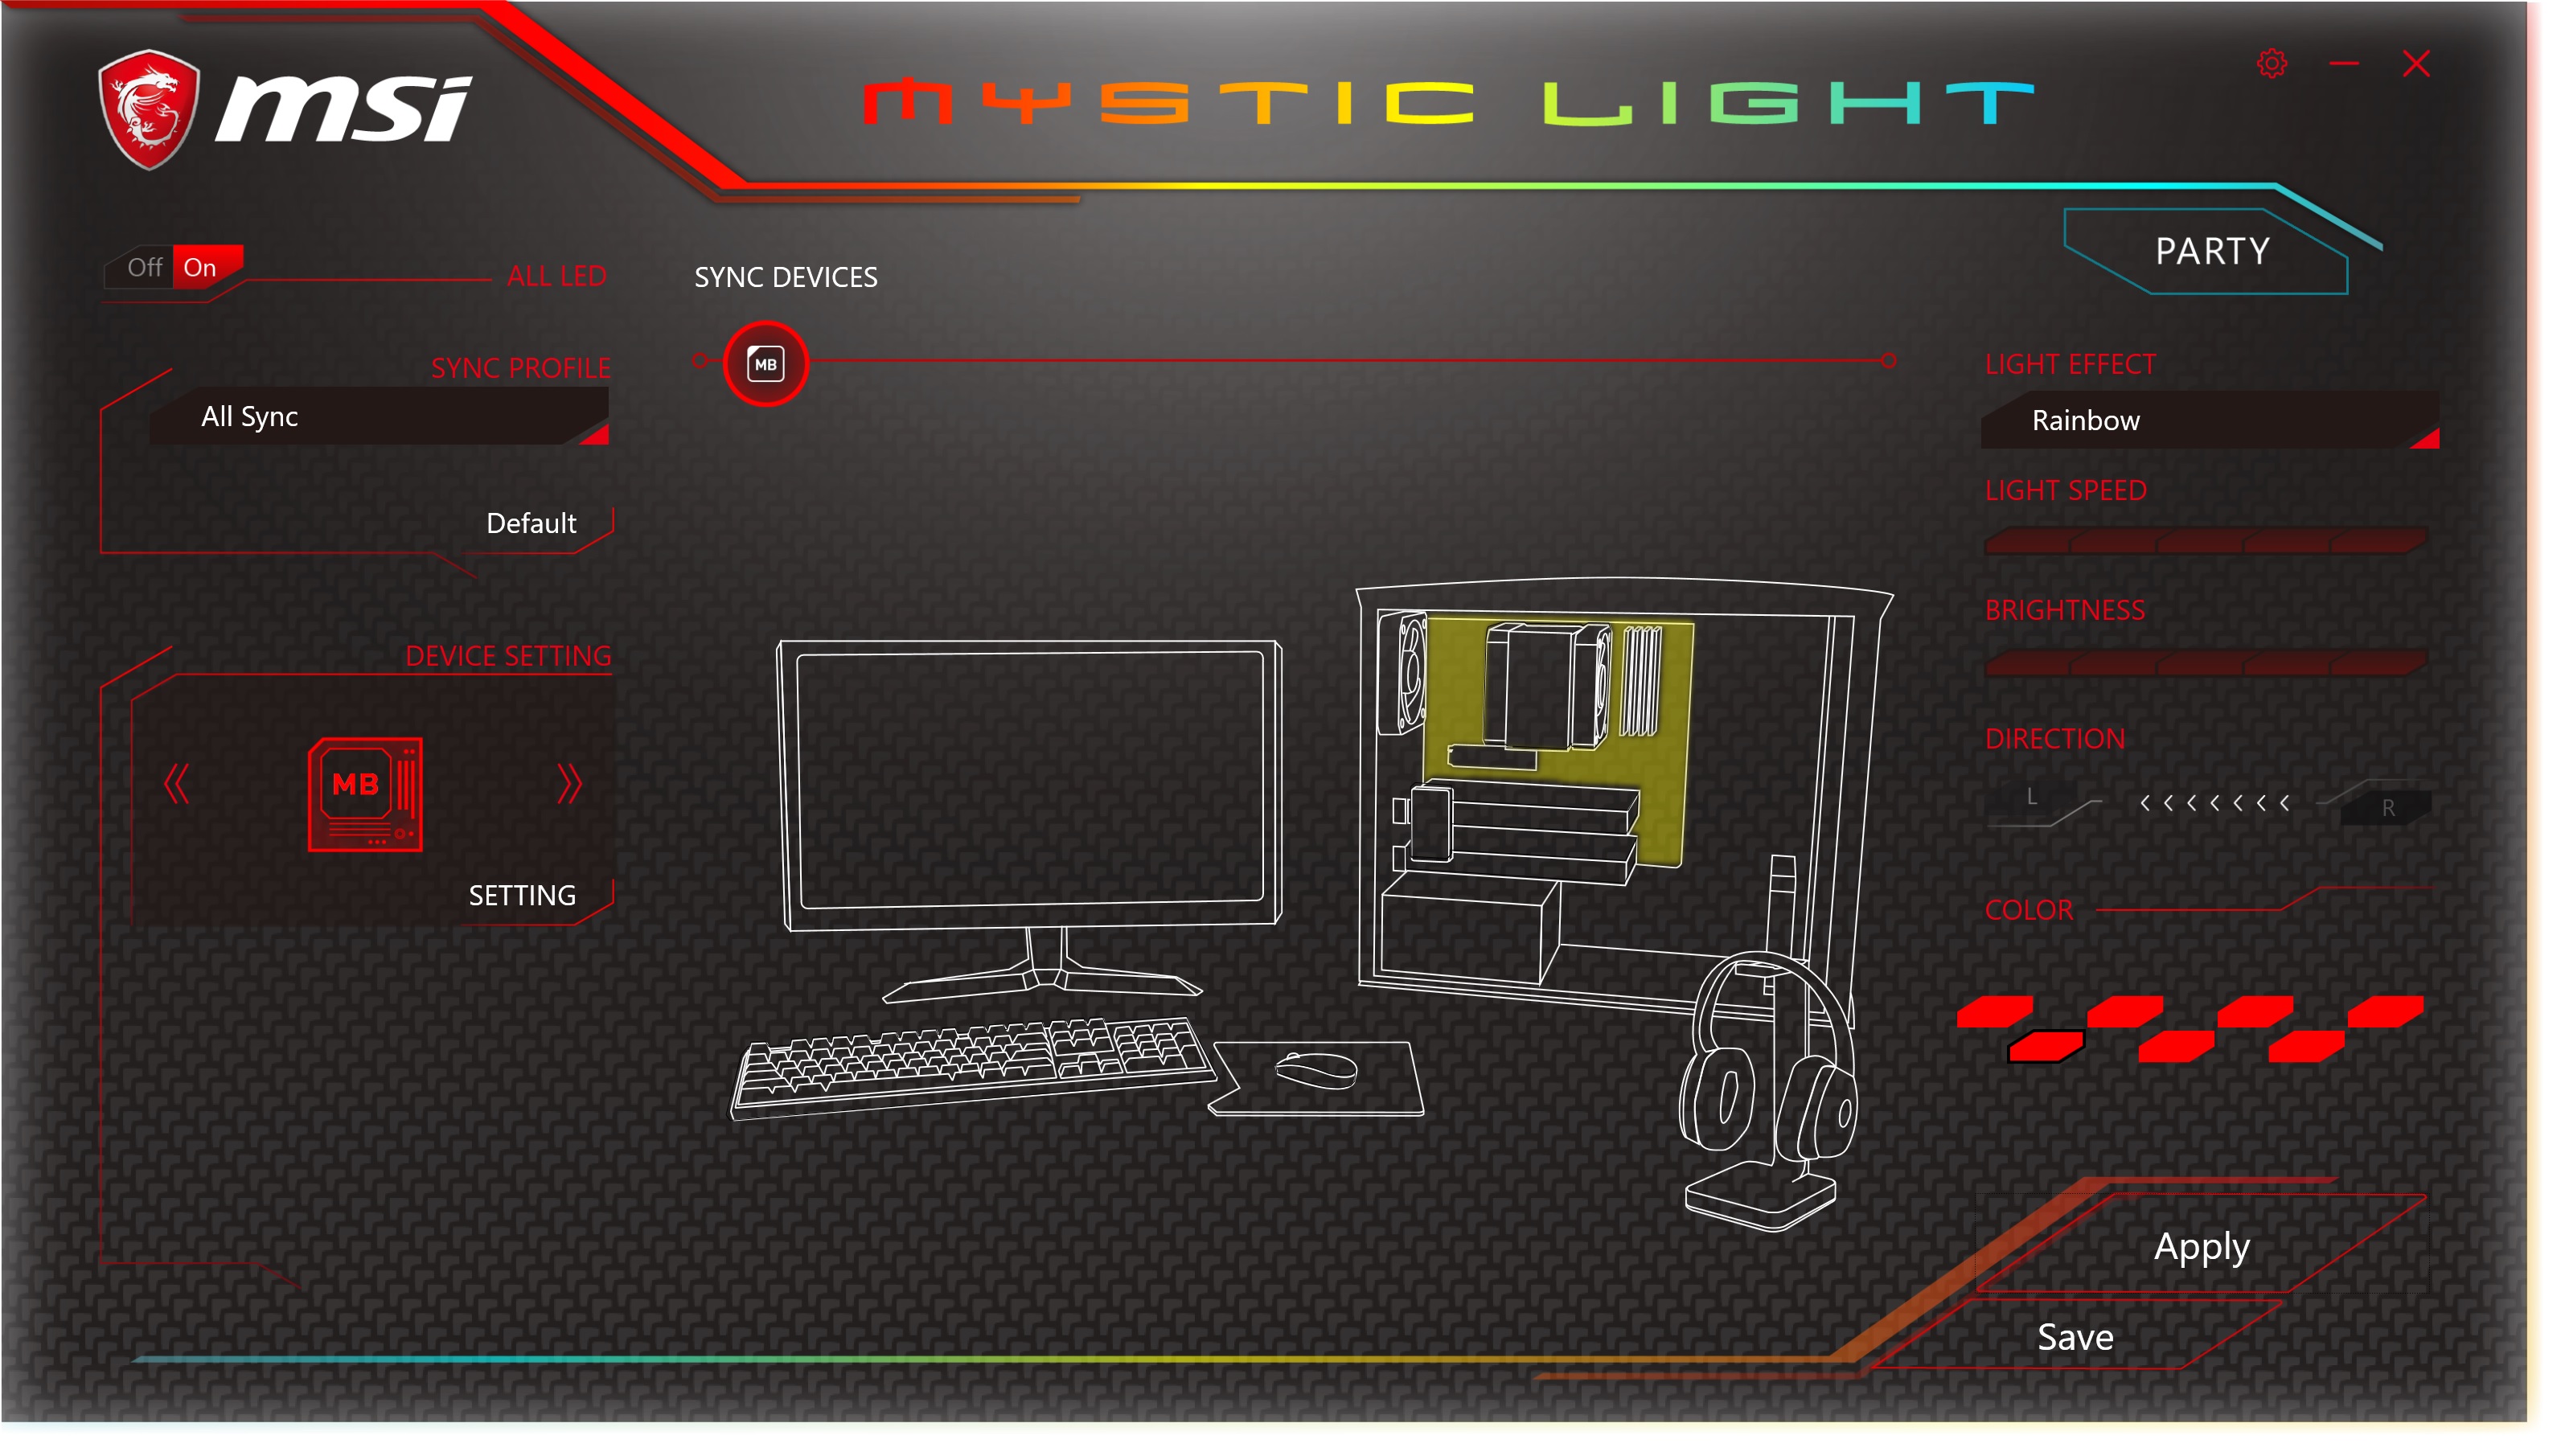
MSI's Mystic Light app is able to control the two sets of RGB LEDs on the XPower Gaming AC without issue. It will also control RGB LEDs when attached to the onboard header. There are several different lighting effects to choose from as well as light speed, brightness, and the direction of the effect. My only complaint about this software is the lack of scaling. When I opened this on the 4K monitor I use to test with, it took up nearly the entire screen. Outside of that, it worked like a charm on the integrated RGB LEDs.
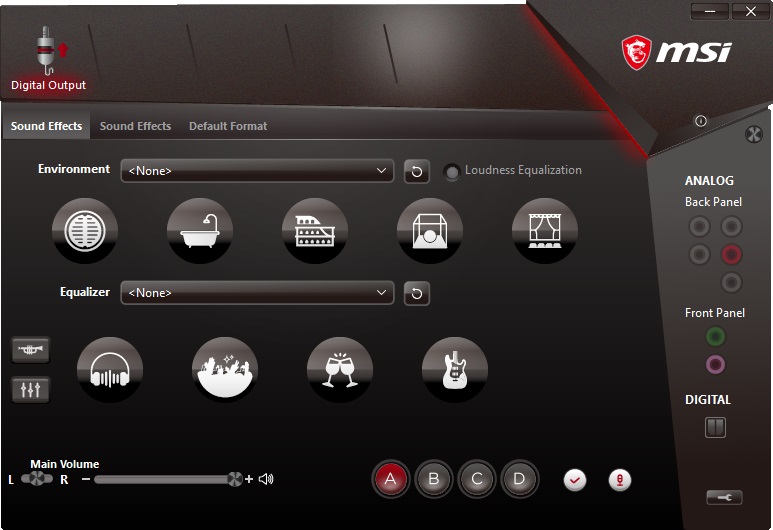
The X299 XPower Gaming AC uses the latest Realtek premium audio codec, the ALC1220. With this comes its own application to change the sound to your liking from its predefined sound stages to a graphic equalizer, there are plenty of options to manipulate the sound here. On this board, it uses a MSI skin to match more cleanly with the red/black enthusiast line it is part of.
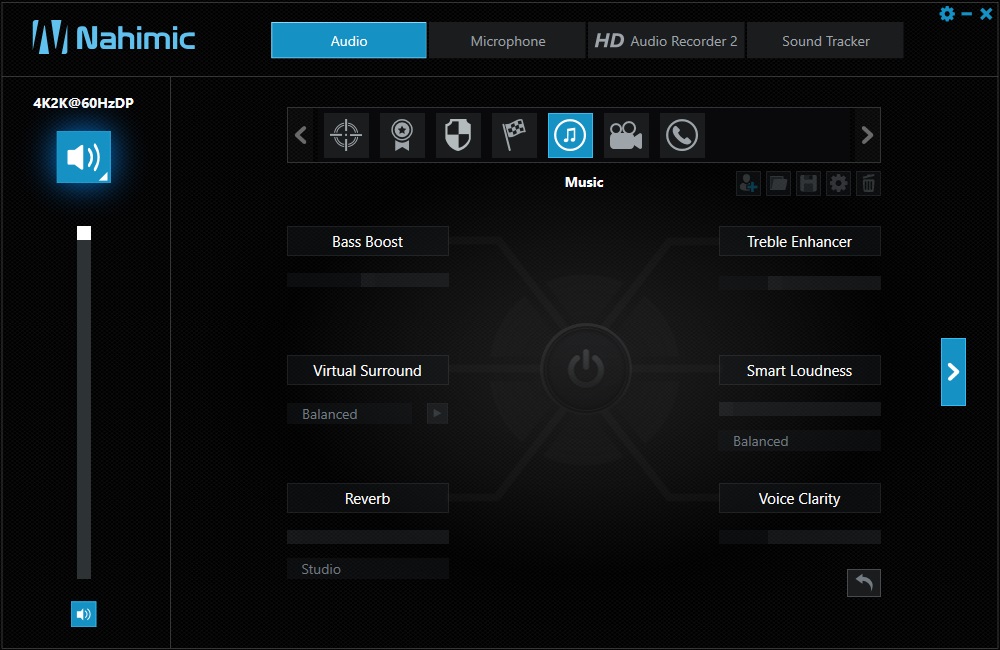
MSI takes audio a step further and includes the Nahimic software package on top of the Realtek application. Here we are able to adjust more options and do so for each type of application be it gaming, movies, music, or a phone call.


17 Comments
View All Comments
The_Assimilator - Thursday, May 10, 2018 - link
"Five total M.2 slots with full bandwidth? Check."Last time I checked, three and five were not equivalent.
Ket_MANIAC - Thursday, May 10, 2018 - link
Last time I checked, Anand still worked here. Sad!The_Assimilator - Friday, May 11, 2018 - link
Yeah, back before this site's proofreading took a Purch to the knee.PhrogChief - Friday, May 11, 2018 - link
I mean... "GAMING" on everything now? Seriously... I thought playing games was just ONE of the things us PC enthusiast types do with the computers we build...What ever happened to -PRO, or -DELUXE, or WORKSTATION, boards, etc... Now everything is for GAMING! GAMING HEADPHONES!!! Same as the nice studio monitors, just now with HIDEOUS COLORS AND LIGHTS!!! Fcuking shoot me...
Diji1 - Sunday, May 13, 2018 - link
OK, OK, no need to get histrionic about a non-existent problem.blingon - Friday, May 11, 2018 - link
> The chipset shroud looks almost like a reactor coreActually, it really doesn't.
jackmiller5623 - Wednesday, June 24, 2020 - link
The printer test page allows you to check the printing capacity of your printer and also make the test for free.Print test page provides you the facility to make the dream come true of printing the page absolutely free. Print a new page from your new printer and get the page free for you to check and print your lovely documents here at- https://printertestpage.co/.