Delidding The AMD Ryzen 5 2400G APU: How To Guide and Results
by Gavin Bonshor on May 10, 2018 8:00 AM EST- Posted in
- CPUs
- Guides
- APUs
- Ryzen
- Ryzen 3 2200G
- Ryzen 5 2400G
- Delidding
- Delid
Delidding The AMD Ryzen 5 2400: Preparing The APU For Use
Now that the Ryzen 5 2400G has been successfully delidded without any damage, it is now time to prepare the Ryzen 5 2400G ($169) for use; in our case, on the test bench to see what/if there are any thermal benefits of changing the stock paste applied, as well as available overclocking headroom as a result of this process.

Step 9 – Removing the Glue from the IHS and CPU
The next step is to remove the black glue that was holding the IHS to the CPU package. Both the CPU package and the IHS is likely to have this glue, as a delid is often not a clean separation. The picture above shows the black stuff.
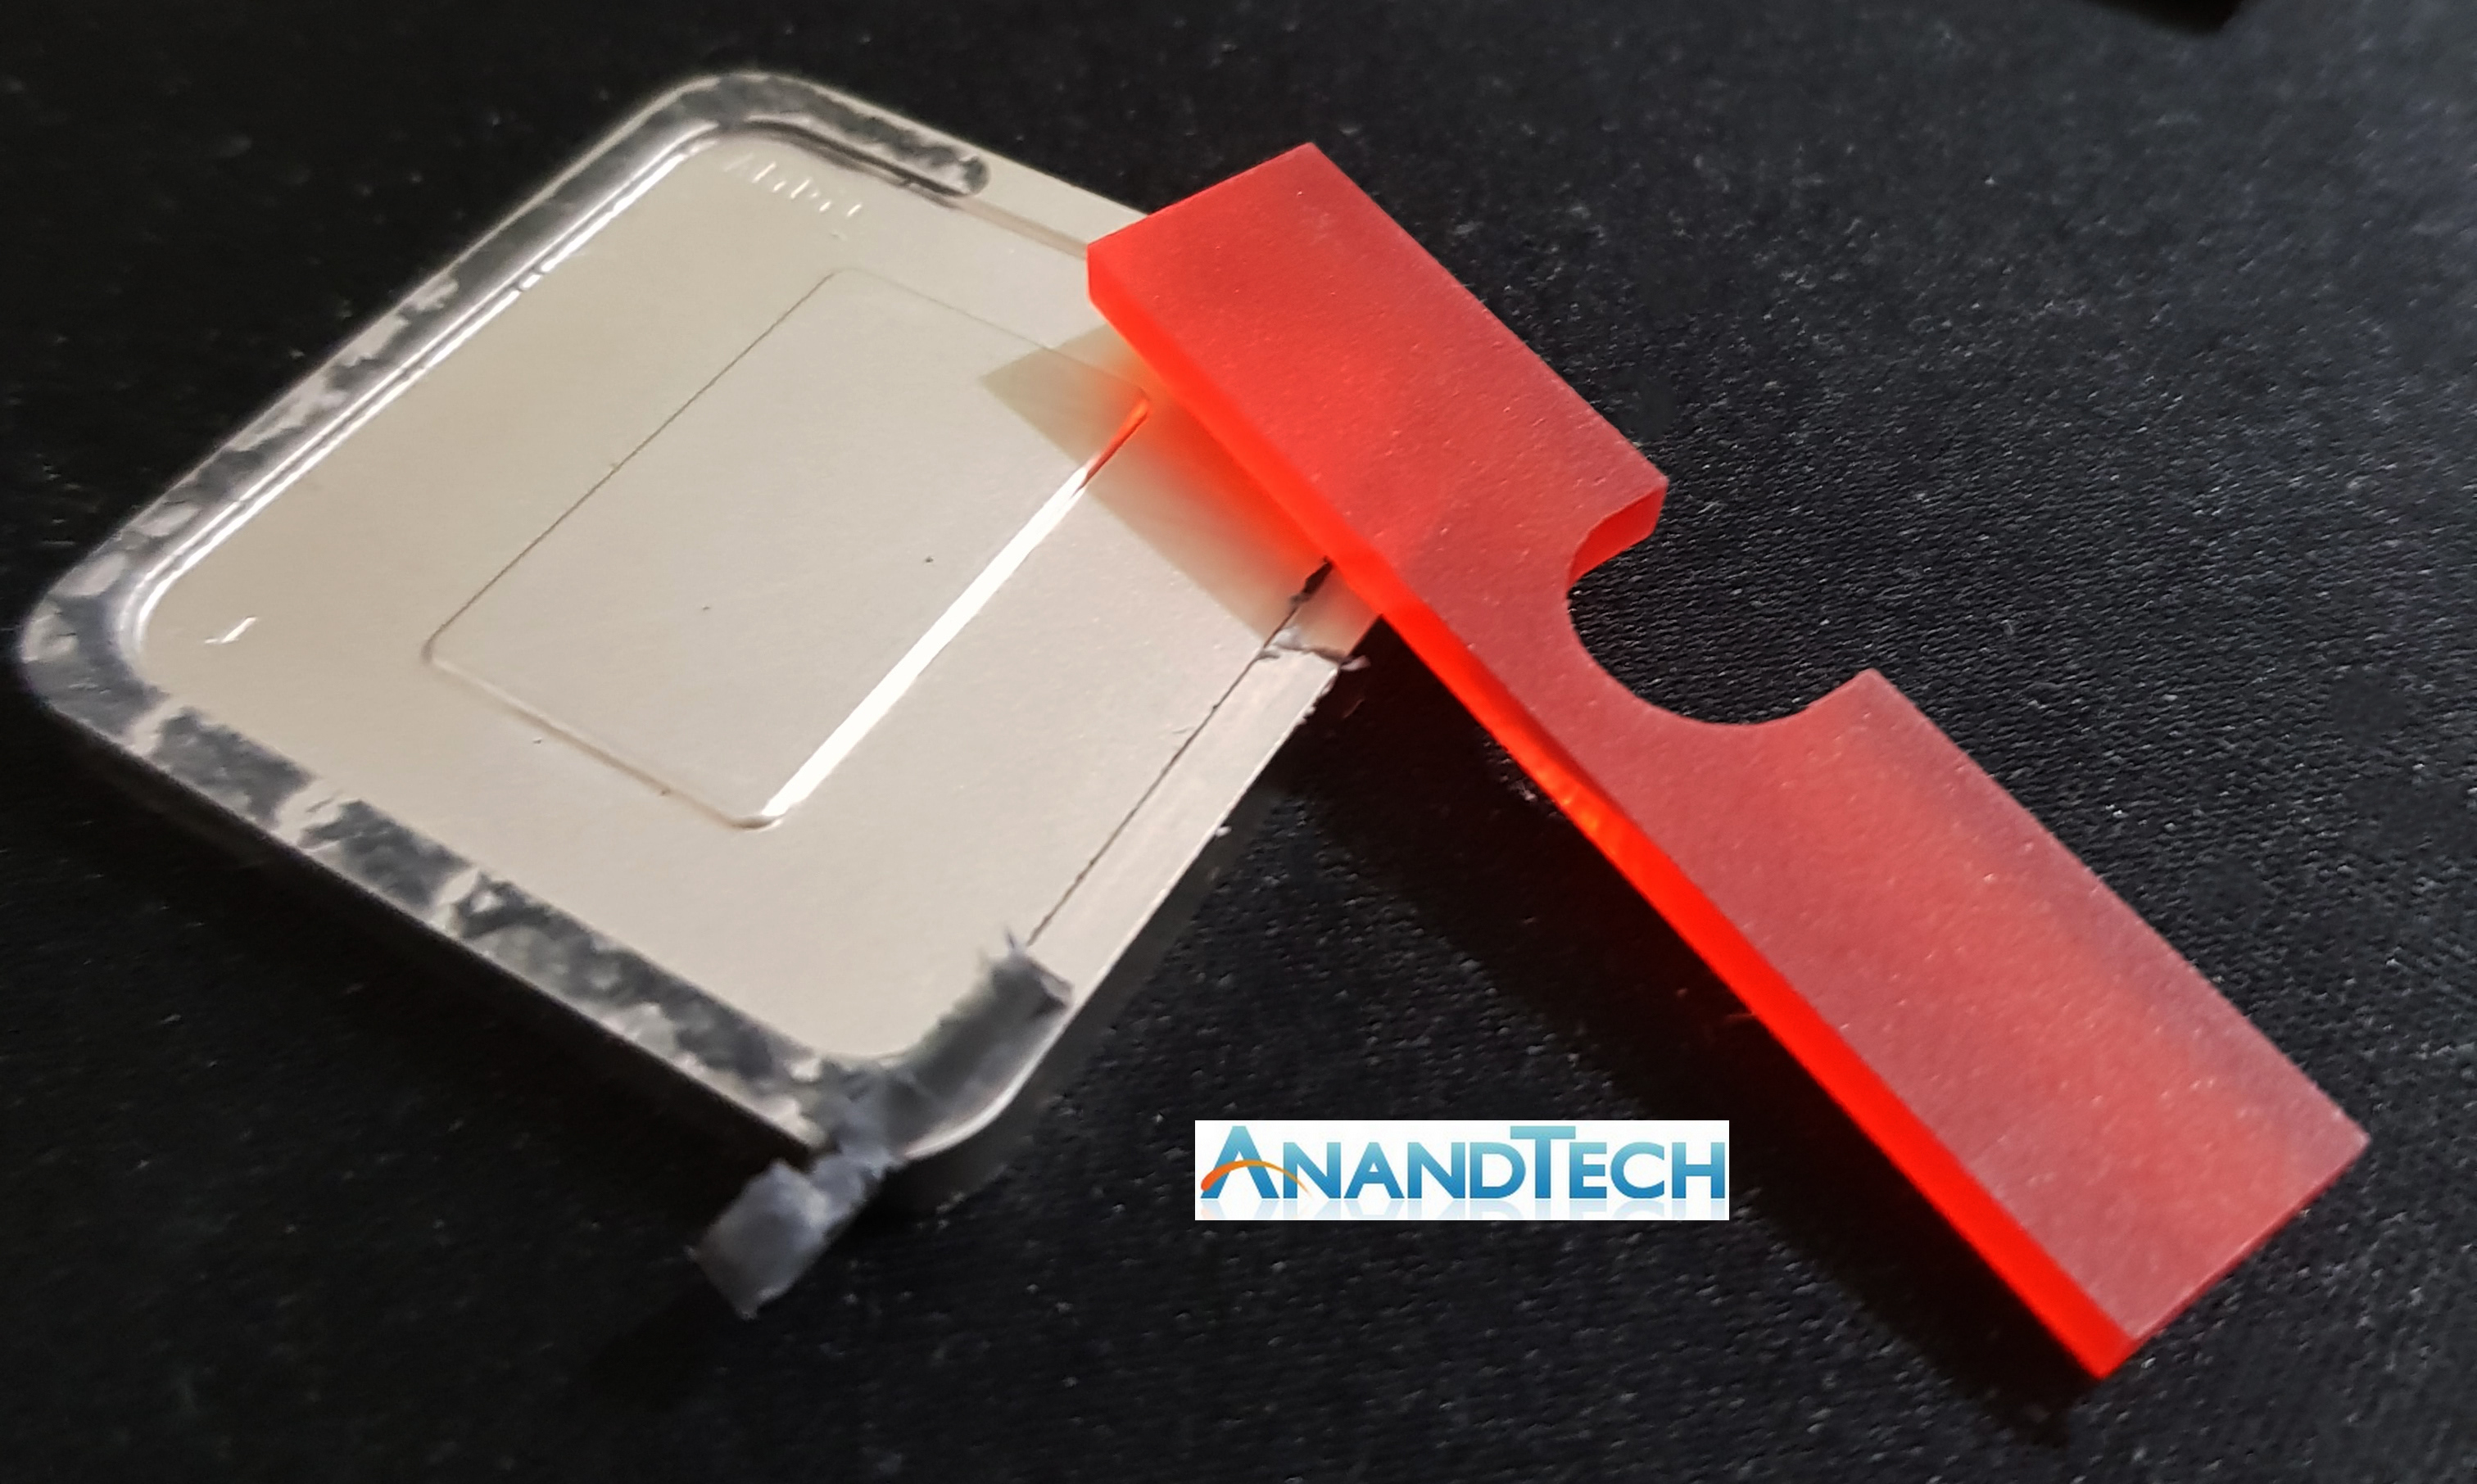
Not only does the included acrylic adapter with the Delid Die Mate 2 AMD kit act as a layer of protection for the CPU pins on the Ryzen 2000 series APUs, but as the acrylic itself is softer than silicon, it can be used safely to remove the glue from both the IHS and chip.
Step 10 – Cleaning The APU

It’s a good idea once the glue has been removed and scraped from the IHS and APU, that both surfaces are cleaned to remove any residue from the thermal paste and glue themselves. A single alcohol wipe comes included with the Thermal Grizzly Conductonaut Liquid Metal ($16) which is good as it will remove all traces of thermal paste from the die.
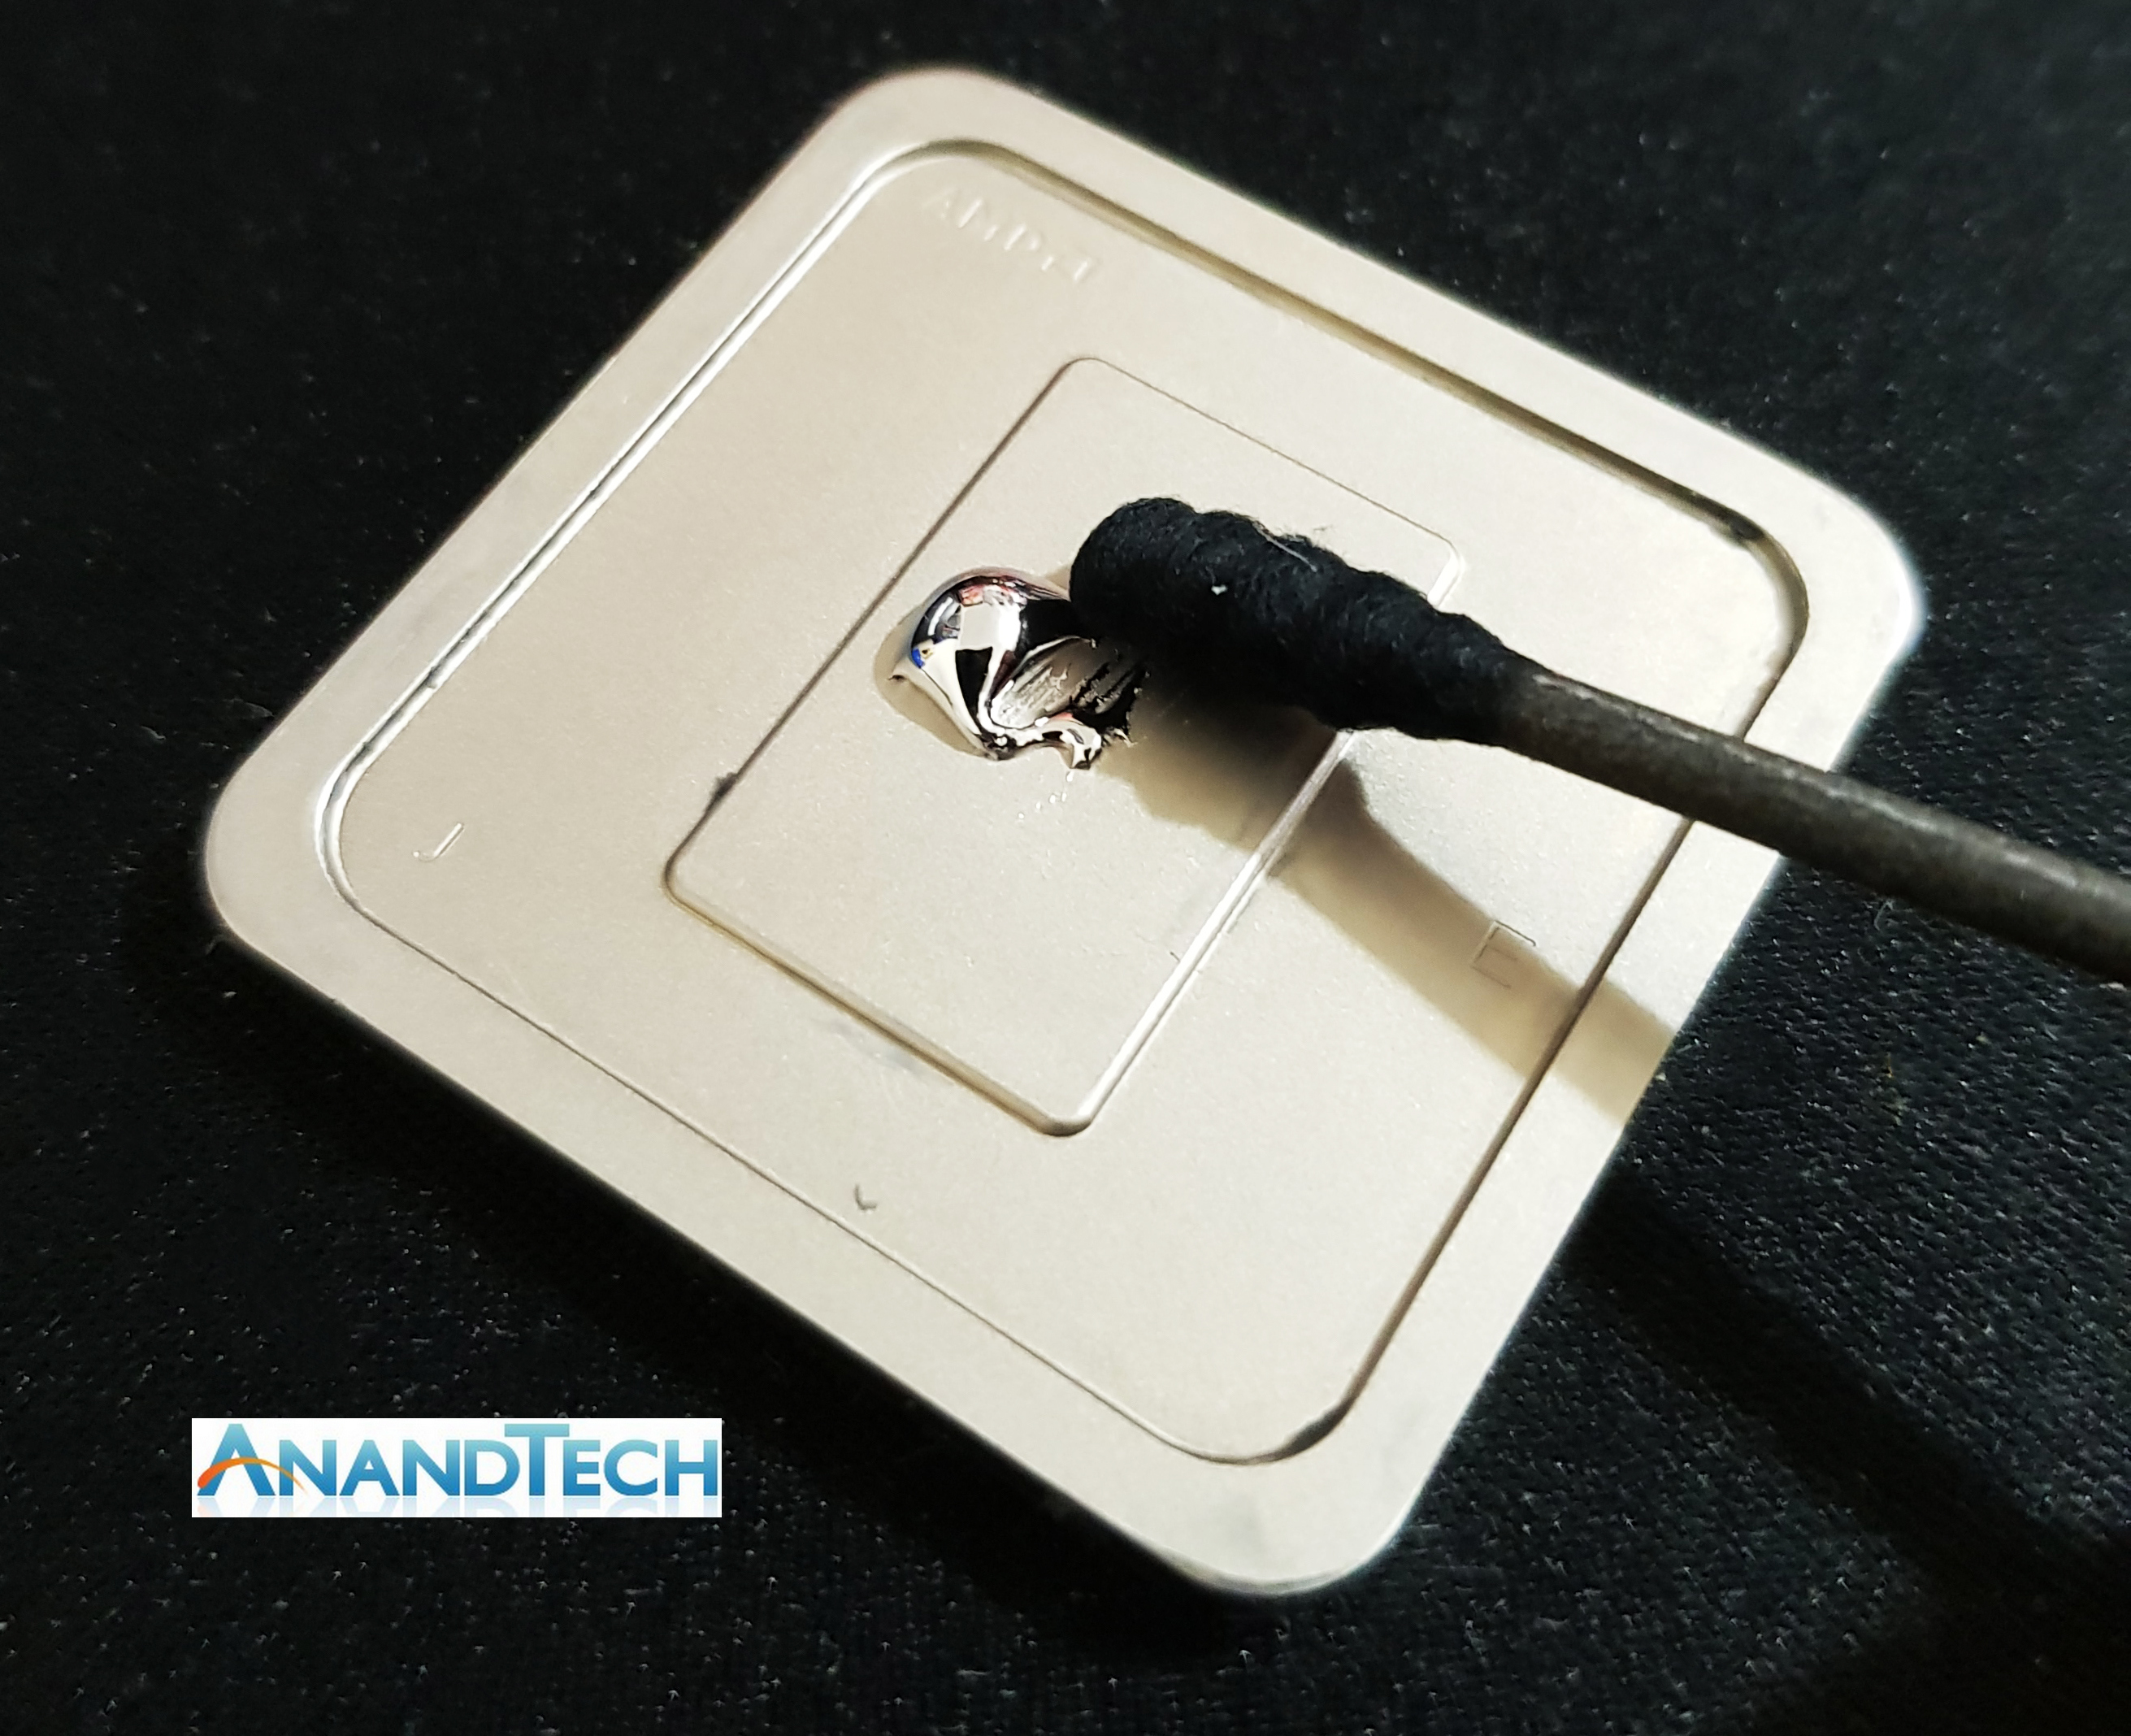
Step 11 – Applying Liquid Metal Thermal Paste to the Die and Heat Spreader
Once both surfaces are clean, it’s time to update the TIM. The best user-applicable TIM is based on liquid metal: a compound designed to embed and fuse itself between the CPU die and the heat spreader. For our testing, we use Thermal Grizzly Conductonaut, designed especially for this use case, however others are available (such as CoolLaboratory LIQUID Pro).
As per the instructions, apply a liberal amount of the liquid metal to both the IHS and the die. The trick is to start with a small amount and use the included black Q-tip provided to patiently spread the liquid metal across the surface. Only the die surface area needs covering and this is important as liquid metal is highly conductive and if any were to get on any of the other components around the silicon die of the chip, it’s likely to short out and die making the whole process futile and fruitless.
Liquid metal can be tricky to use and apply, but the method is to be persistent as takes a little bit of time for the liquid metal to stick, but once it does, it’ll start spreading much easier. The key is to start small, slowly and most importantly, carefully when applying liquid metal. Another caveat is using too much: if you use too much, when you place the heat spreader back on the CPU, the excess will escape due to the pressure. If this happens and it touches the other components, when powered on it will short out and most likely fry your chip. If you have lots of dark puddles, you can simply use the Q-tip to remove excess or if you manage to get it around outside of the raised section of the IHS or on the SMDs, pure acetone (not containing aqua) is the easiest method of removing it.
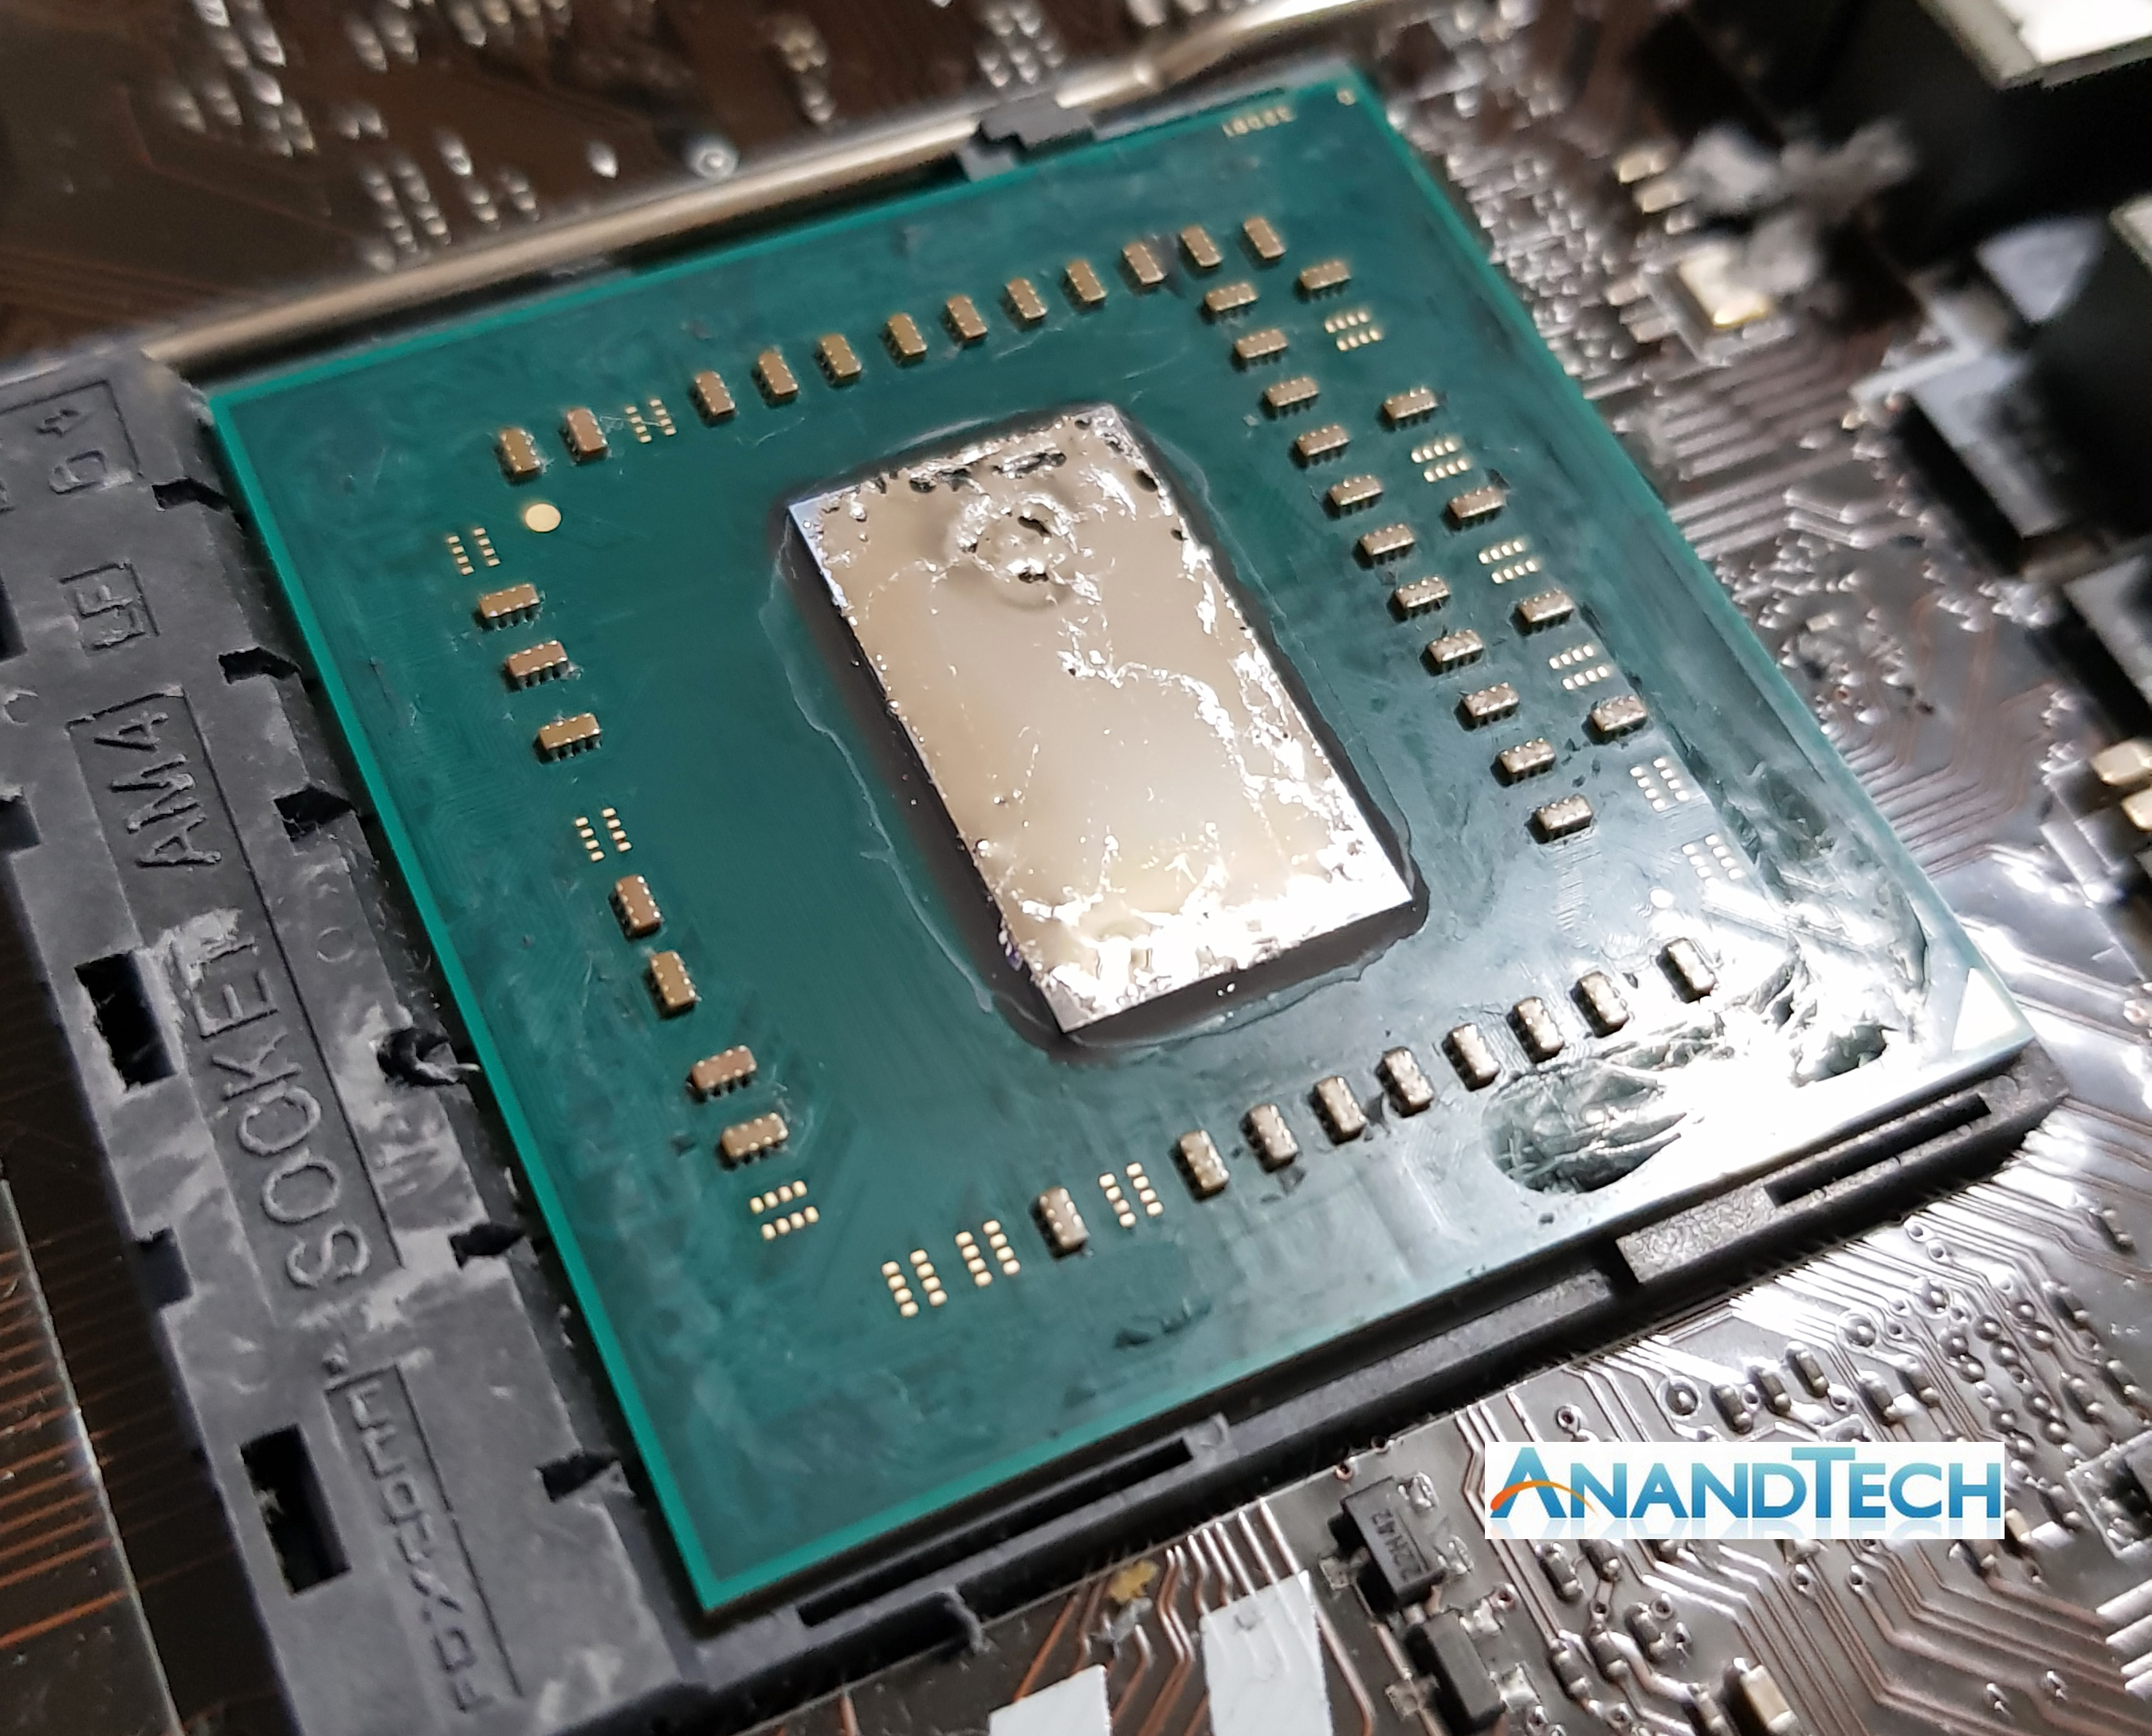
Nearly ready, some excess liquid metal needs removing before adding the IHS
Step 12 – Adding the Heat Spreader and Installing the APU In the Socket
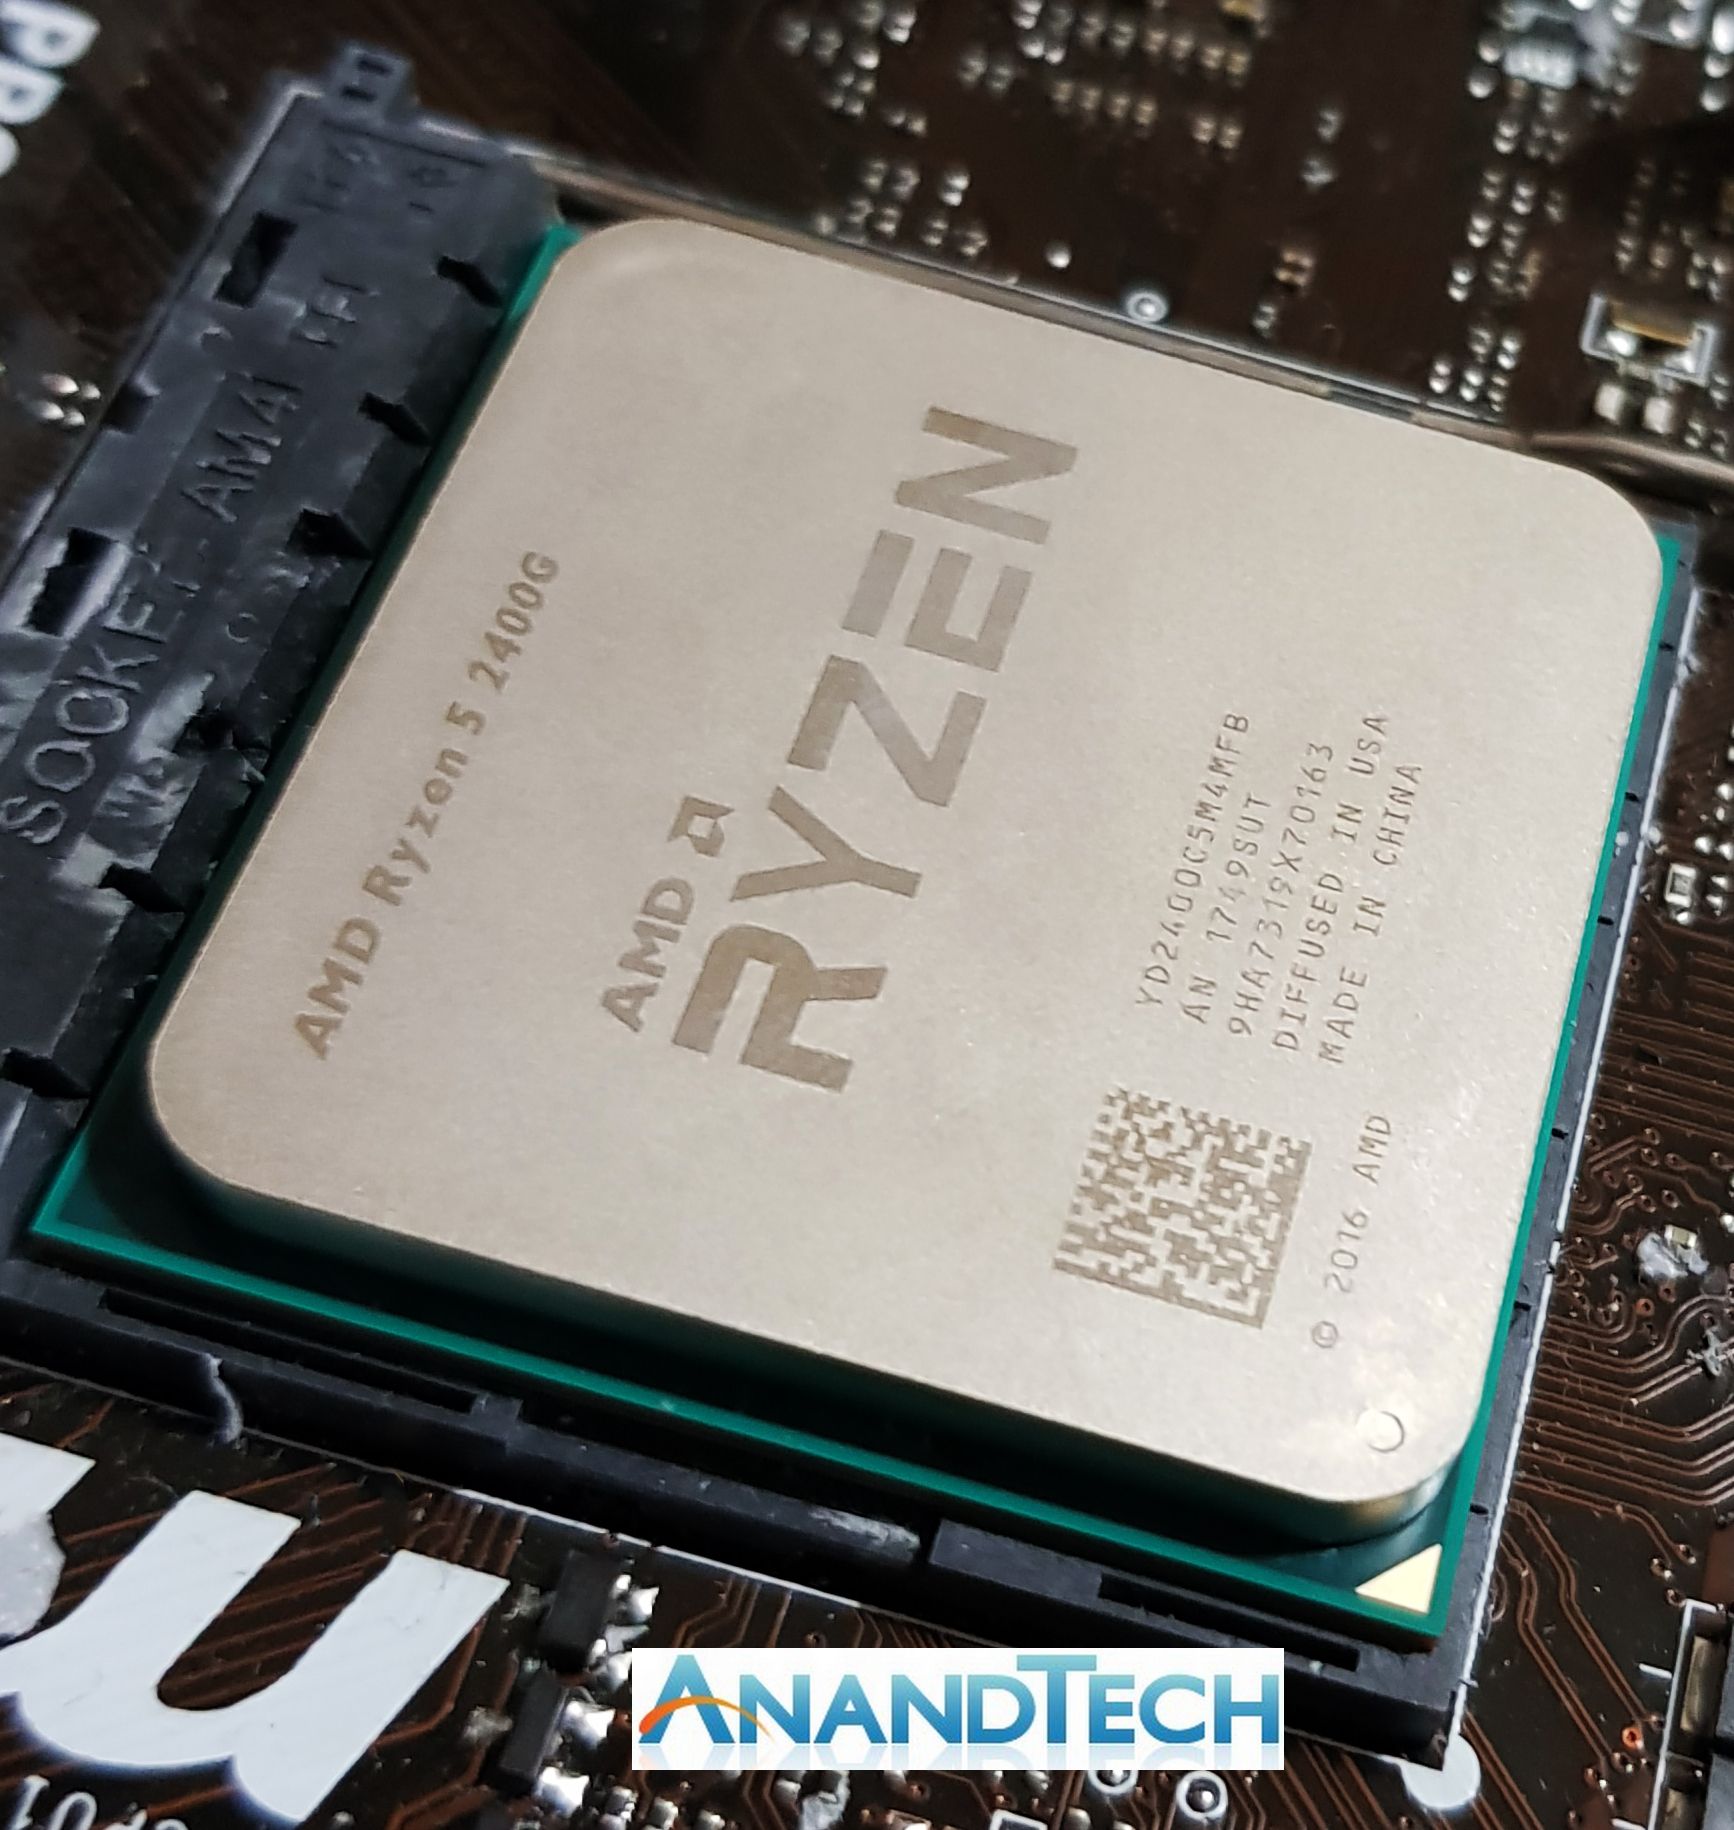
The best way of applying the liquid metal to the die of the Ryzen 5 2400G (or Ryzen 3 2200G) is doing it while the processor is out of the socket. This is to avoid any mishaps during application as liquid metal can be a very horrible substance to remove, although using acetone works wonders. The next step is placing the IHS back onto the heat spreader with as little movement once it is in place as physically possible. When delidding Intel processors that use a lane grid array socket such as LGA 1150 or LGA 1151 is the socket has a retention bracket which holds the IHS down in place; AMD PGA sockets do not have this function.
Some users can also apply a new silicon glue around the edge of the IHS to connect it to the package. This can make this stage of the process easier, however it does add additional height to the overall chip, potentially making the new TIM less effective.
Step 13 – Installing the CPU Cooler with Care, Precision and Patience
While the thought of delidding a CPU is daunting, for me personally, the hardest part when delidding an AMD Ryzen 2000 series APU is safely installing the CPU cooler without breaking that seal of liquid metal between the die and IHS. One wrong jerk could or misplacement could get liquid metal on one of the SMDs unknowingly which wouldn’t be visible until it was too late. After applying standard thermal paste between the IHS and cooler, while keeping the IHS straight, it’s a good idea to place the cooler on top without applying too much pressure but lining it up with the mounts so that the tightening applies the pressure as opposed to using body weight.

The cooler for our AMD motherboard test setup is the Thermaltake Floe Riing RGB 360 AIO which is considered as a high-performance CPU cooler and should in theory, provide a nice reduction in temperatures over non-delidded; the rationale is that the better the cooler, the lower the temperatures. When attaching the cooler to the APU and motherboard, I found placing it on top gently and centered worked well, while simultaneously screwing in two of the thumbscrews in a diagonal method to each other at the same time. This applies even amounts of pressure, or as even as you’re going to get to ensure the liquid metal isn’t disturbed too much. Installing the other two thumb screws finishes the installation process.
The most important attributes to take into consideration throughout the whole process when delidding a CPU/APU and installing is patience and care. TAKE YOUR TIME - it is not a sprint, but a marathon and one slight mistake can kill a chip.


73 Comments
View All Comments
sonny73n - Thursday, May 10, 2018 - link
Isnt the sole purpose of delidding is to reduce temp and improve performance? It’s quite different from modding a car.How about a blade which costs only 20 cents.
Lord of the Bored - Friday, May 11, 2018 - link
A lot of car mods are dedicated to improving performance. Just like building a PC, there's more to a car than adding RGB LEDs.sonny73n - Saturday, May 12, 2018 - link
You’ve never modded a car, have you? I wouldn’t spend more than 10% of that $10k on a $2k car’s engine, unless you mod a lemon.eastcoast_pete - Thursday, May 10, 2018 - link
Yes and no; a key reason why I am even considering a 2400G is that, once you have a 1700 or 2700, you still need a dedicated GPU, and that means an extra $120 - $150 for an underwhelming dGPU (geforce 1030), all better ones being way overprized thanks to the crypto-craze. Also, the delidding tool doesn't wear out (buy once, delidd many), so my plan would be to borrow or rent it from someone for a fraction of the cost, or buy one and resell it for $10 less after I am done. That leaves the costs for the conductonaut, which won't break the bank. Overall, still a good value proposition to get through the cryptomining dGPU price craze.werpu - Wednesday, May 16, 2018 - link
The 2400 is suitable for many situations, but for my desktop 4 cores 8 threads was not enough... Usually you have the graphics card already. I am considering going for a 2400g however later this year for a homegrown nas. This littly processor provides enough power to run vms decently a thing which most commercial home nases are not able to pull off decently due to their underpowered processors.boozed - Thursday, May 10, 2018 - link
A very valid point, which is addressed in the article's final paragraph.Diji1 - Friday, May 11, 2018 - link
I've never done it but there are delidding services available apparently which presumably cost less than buying the tool to do the delidding.VoiceOfReason116 - Thursday, May 10, 2018 - link
Gavin mentioned that he didn't know of large vendor offering pre-delidded processors in the US. I believe that Silicon Lottery does this, though they may not offer this service for AMD processors. They also do binning of CPUs. From the little bit I've heard, people speak pretty highly of them.Oxford Guy - Thursday, May 10, 2018 - link
Probably a stealth subsidiary of Intel.Oxford Guy - Thursday, May 10, 2018 - link
"a direct soldering has the best performance but might not withstand mulitple years of cycling."Bogus FUD. That concern only applies to liquid nitrogen or a similar extreme.
People have been recycling a slipshod PDF "article" with that concern-trolling nonsense for years now, pretending that it applies to normal cooling methods like water and air. Intel marketing at its finest. In an alternate marketing universe, AMD's use of solder is a mistake because it's more convenient to delid polymer TIM parts. And, in this fantasy zone, indium solder doesn't yield enough performance.
"standard TIM 'goop/paste' has sufficient longevity but lower performance"
Lower performance than what? There is a wide enough range among polymer TIM alone, without comparing the best polymer TIMs to the best indium solders. This is one of the reasons people weren't pleased when Intel marketed Devil's Canyon on the basis of a new-and-improved polymer TIM but an enthusiast website's testing found that not only did it have the identical low performance of its predecessor, it was outperformed by a rather inexpensive 3rd-party polymer TIM. The US government exposed Arctic Silver 5 for having a paltry thermal transfer rate when compared with its company's claimed rate. The 3M polymer TIM, by contrast, performed exactly as advertised (much better than Arctic Silver 5).
"I could see delidding a Ryzen 2000 series APU viably applicable would be in a situation" where rich people have nothing better to do with their time and money.