The ASUS TUF X99 Sabertooth Review
by Ian Cutress on July 22, 2015 10:00 AM EST- Posted in
- Motherboards
- Asus
- TUF
- X99
ASUS TUF X99 Sabertooth BIOS
ASUS’ BIOS implementation has been getting a good reception as of late. The trend for motherboard vendors is towards having both a simple mode and an advanced mode for new and seasoned users respectively, although there is a gap between what level of interactivity each mode should have (and how it is implemented). Ultimately one of the purposes of moving from the standard ‘BIOS’ to a graphical ‘UEFI’ several years ago was to improve interactivity rather than being a simple list of options – that is still to be realized, but we are getting there. For clarity, we use BIOS is an overall term for the F2/Del entry system into the CMOS, although the latest editions also fall under the EFI (extensible firmware interface) definition as well.
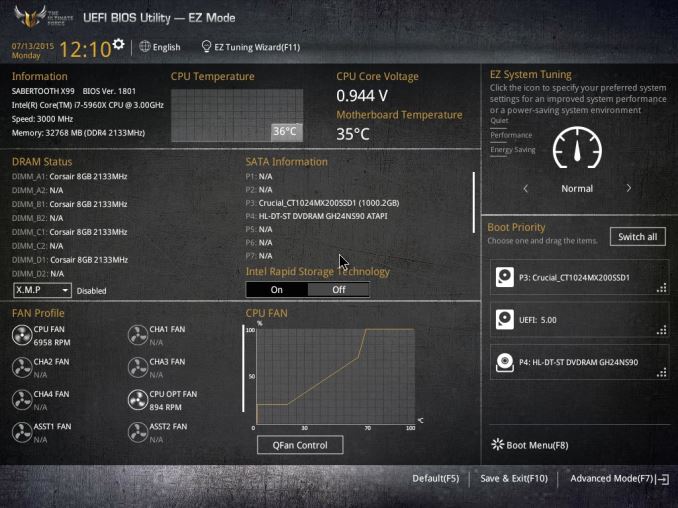
The first screen up on entry is the EZ mode. This features a significant amount of information: the motherboard name, the BIOS version, the CPU installed, the frequency of that CPU, the total amount of DRAM installed, the speed of that DRAM, a graph of CPU temperature (helpful if you forget to plug in the CPU fan), the CPU voltage, the motherboard temperature, a breakdown per-module of the DRAM installed, a button to enable XMP with a couple of clicks, a breakdown per-port of the SATA drives installed, the ability to enable RST with one click, a breakdown per-fan of the fan speeds, a graph showing the fan profile of the CPU fan header, a button to enter fan controls, a quick system tuning option, a configurable boot priority list and at the top a button for an EZ Tuning Wizard. As the guy that fixes hardware at home and for family, this is the information you need on entry to help diagnose issues without looking in the case.
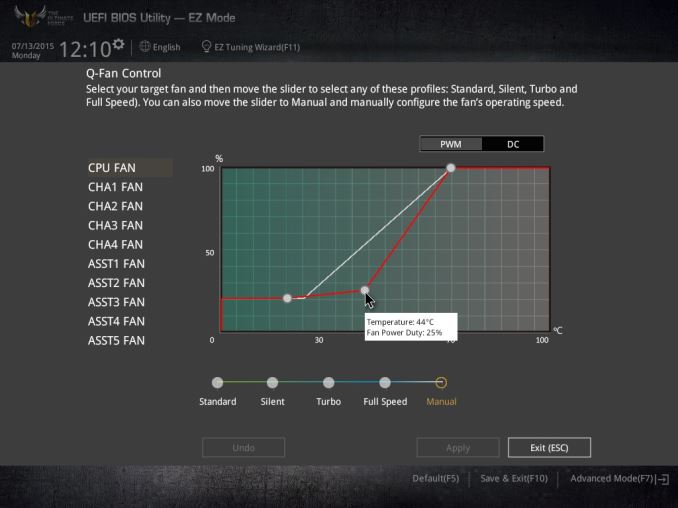
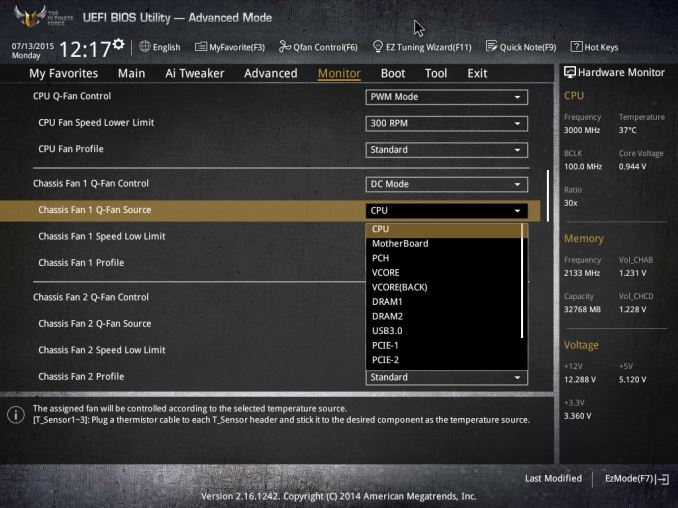
Most of the interactivity from a BIOS comes from the fan controls, and here ASUS offers a two point gradient settings for its fans. Users can either use the presets or do a manual configuration as shown above. Any settings applied in the operating system software override these, although the BIOS settings take into account any situation when the OS software is not present/fails.
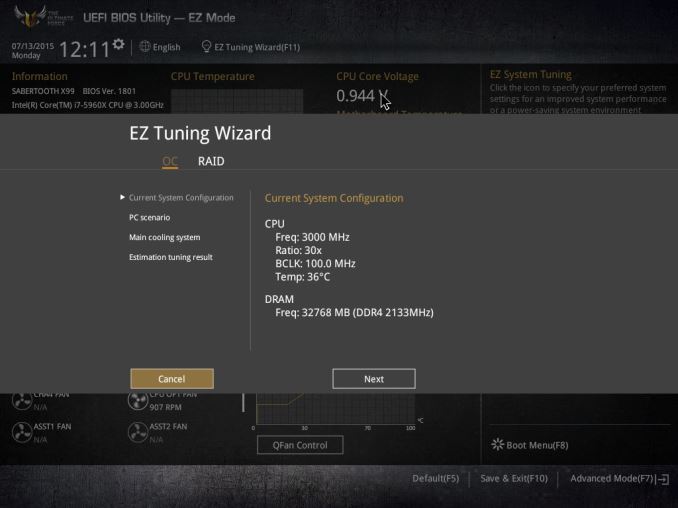
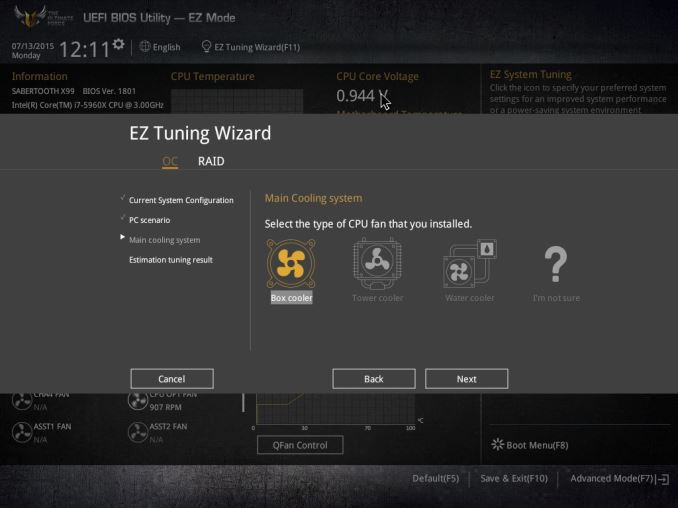
The EZ Tuning Wizard at the top of EZ Mode allows new users to configure a quick overclock or RAID array by following the on screen commands. For the overclock, the system asks the type of usage (gaming/everyday use) and the cooling being used:
Before giving an overclock estimate based on the hardware installed and a final option to attempt implementation.
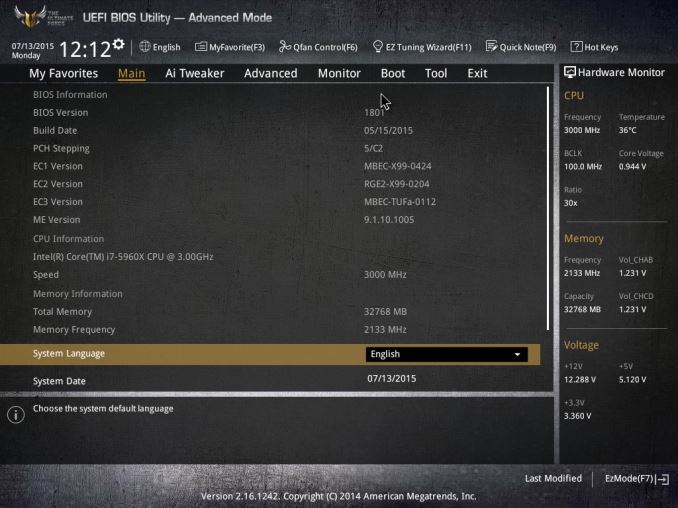
Pressing F7 moves the user into the advanced mode, which from a list perspective is similar to how vintage BIOSes are used. ASUS has updated the list with a few tweaks, such as adding information about the system on the right hand side and a description of the selected option at the bottom. There is also the My Favorites feature to the left of this Main tab which allows users (particularly overclockers) quick access to user-selected settings.
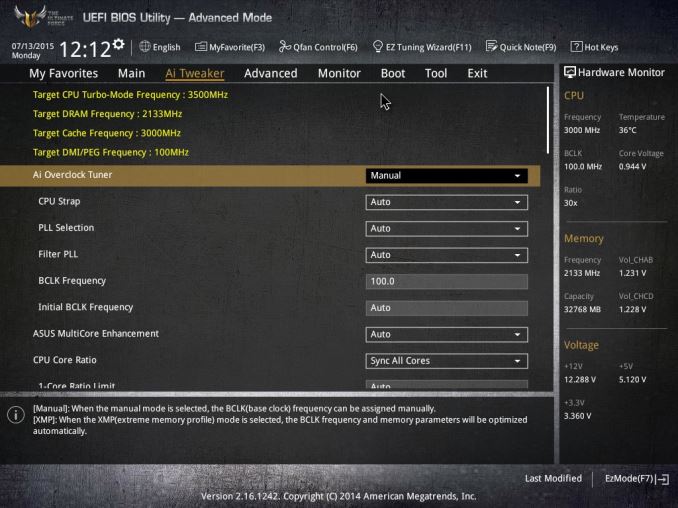
For overclockers the main interface here is AI Tweaker, giving a long list of options from frequencies, DRAM options, voltages and other tweaks. One suggestion I’d like to put to ASUS is the top four options listed here – when I select an option further down, I have to scroll back up to see the difference it will make. These four options are best served on the right hand side with the Hardware Monitor section.
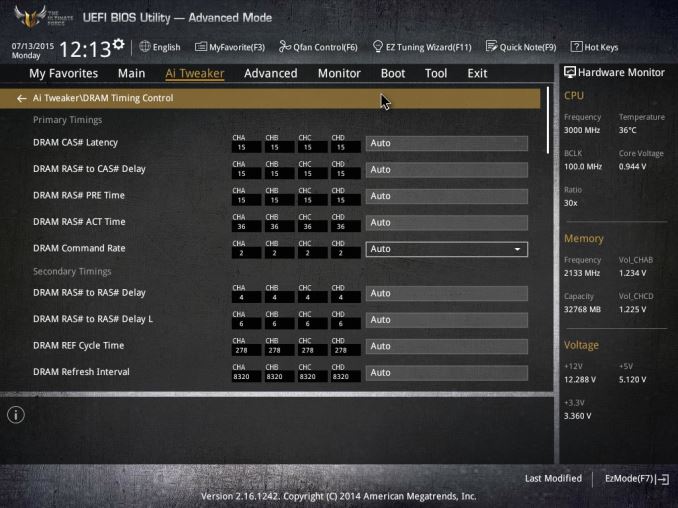
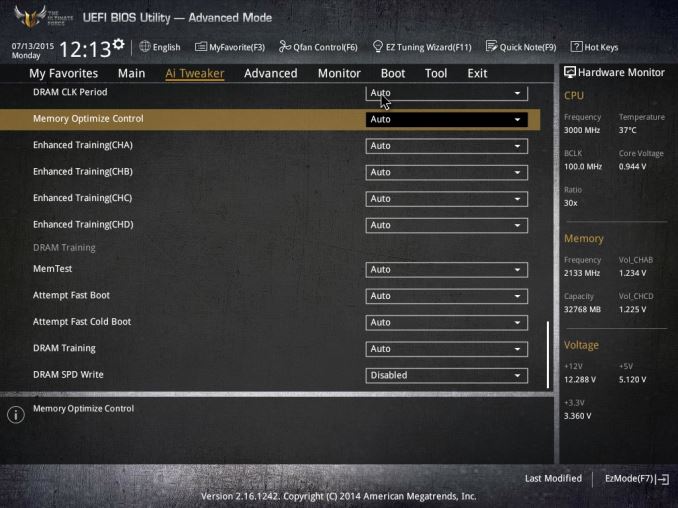
ASUS is usually proud of its DRAM compatibility and overclocking, especially with the OC socket, so there are over five pages of DRAM settings to sift through for enthusiasts. At the bottom of this are a few options worth noting:
With the X99 platform, DRAM needs to be extensively ‘trained’ to ensure proper operation. This means adjusting internal settings and configuring internal voltage points based on the DRAM age, temperature and other factors. This process takes around 10 seconds on the X99 platform at POST, giving POST times around 20-25 seconds. This can be shortened by the options listed above, by disabling some of the training, though it might result in more failed POSTs or instability over time. For completeness at least, or specific use cases, these options are included nonetheless.
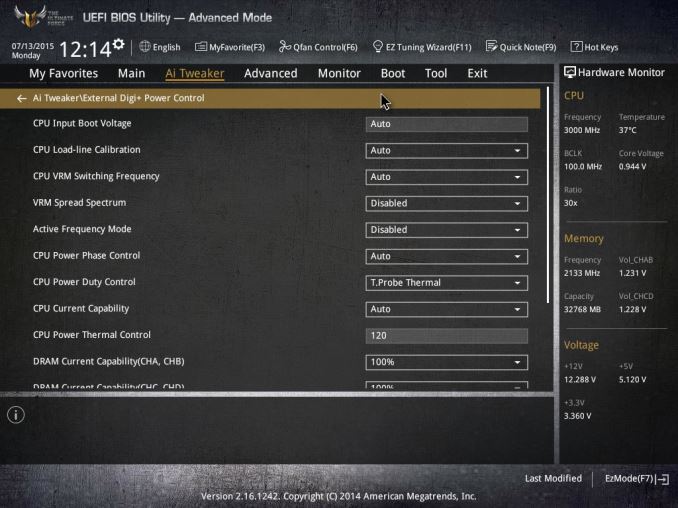
Digital power options are also here, including options to adjust the thermal control of the CPU and power phases.
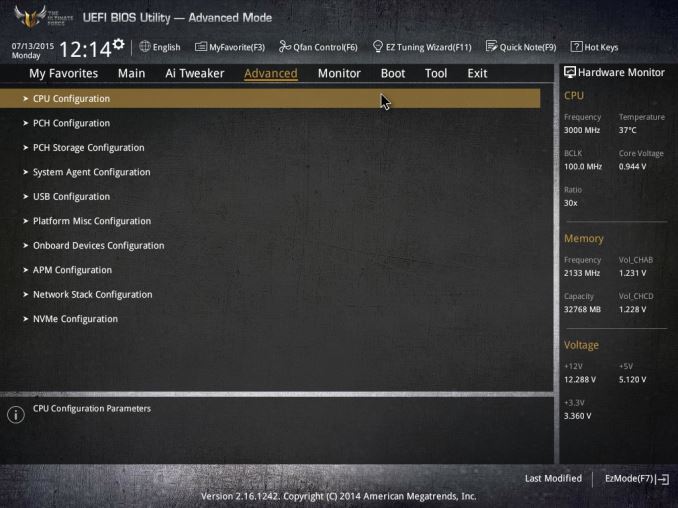
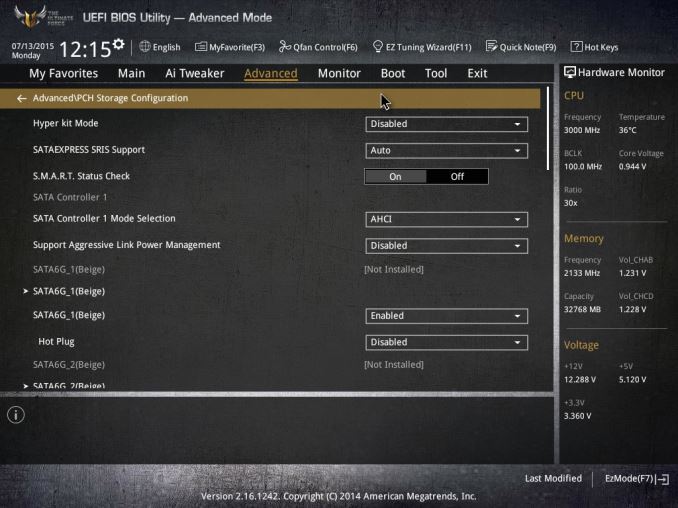
The Advanced options list contains the regular set of options such as core count, HyperThreading, power states, PCIe speed and VT-d (disabled by default). There are a few things to note however – in order to enable the Hyper Kit for the Intel SSD 750, the PCH Storage Configuration menu must be selected:
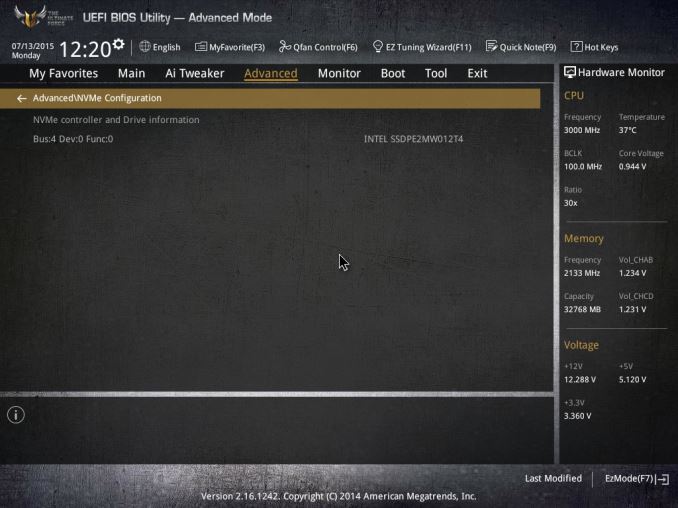
When enabled, the NVMe Configuration option will list the drive:
This drive is then bootable from the Boot sub-menu.
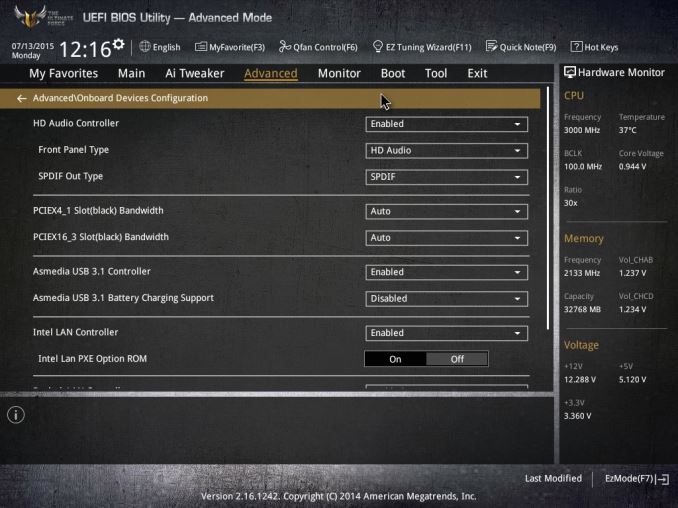
The Advanced menu also allows the USB ports to be enabled or disabled individually to deter random input of drives or in the event that one stack of ports is shorted. The USB 3.1 ports can be controlled in the Onboard Devices Configuration menu:
Here the controller is enabled by default, but the fast charging modes are disabled by default.
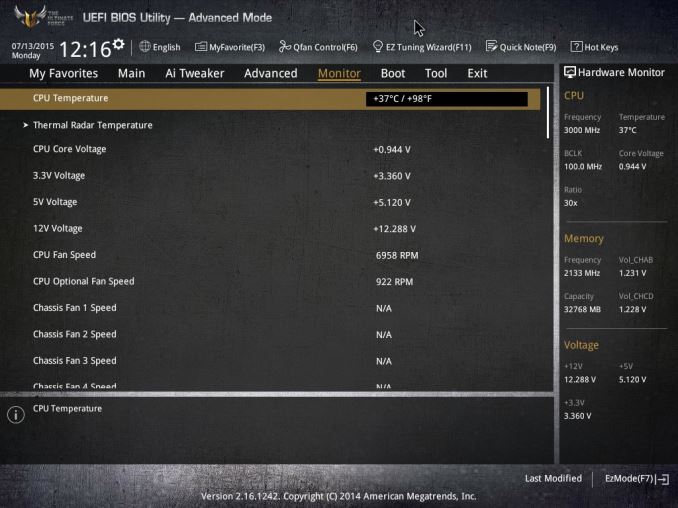
The monitor menu has the regular list of temperature sensors and fan speeds, although having 11 fan headers means a long list of them at the bottom:
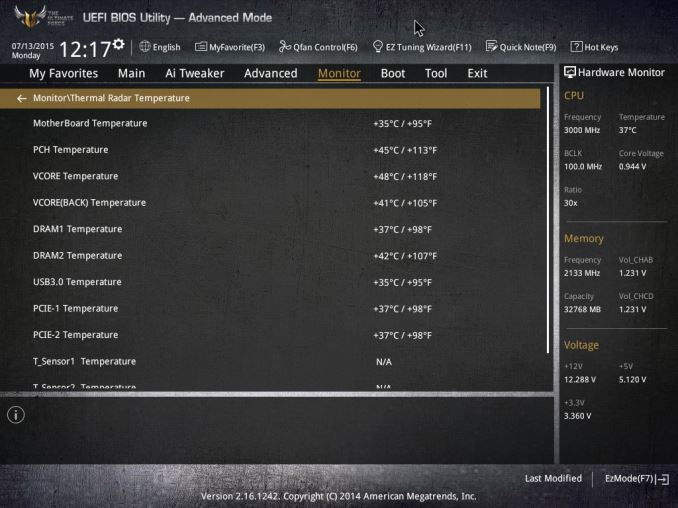
It’s worth noting that this Monitor list only has one temperature sensor on it – to get details on the other 10, users have to navigate to the Thermal Radar Temperature menu:
It’s interesting to note here that the information is not all-contained, requiring users to go back and forth depending on their options. Ideally we need a screen here like the EZ Mode, or at least laid out similarly, so all the information can be presented on the screen at once. Sometimes having a bulk list like this is the least interactive way of doing things.
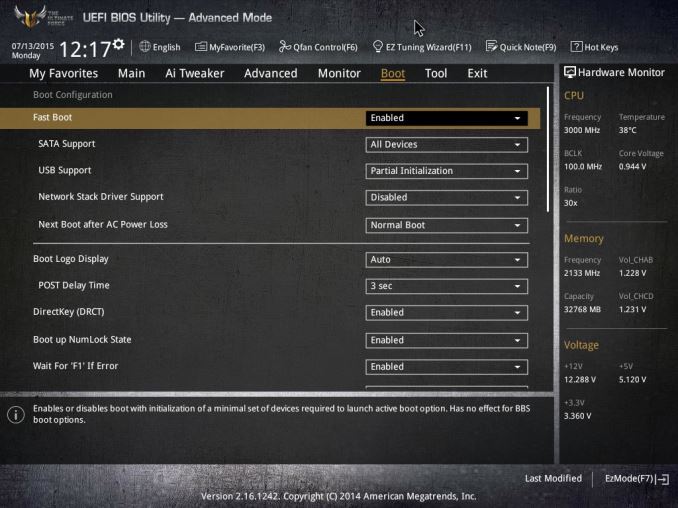
The Boot menu is the standard ASUS layout we’ve seen many times before, and as long as the Hyper Kit option is enabled then the Intel SSD 750 will show up here as a device to boot from. For Xeon Phi and other cards, it is worth noting that the Above 4G Decoding is listed here and disabled by default.
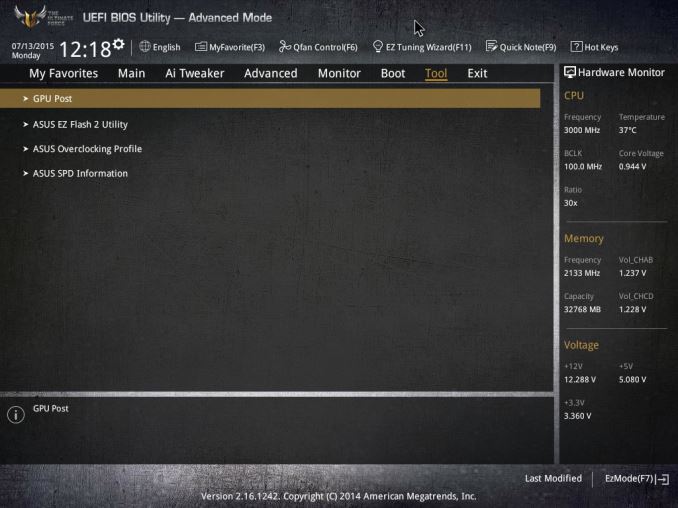
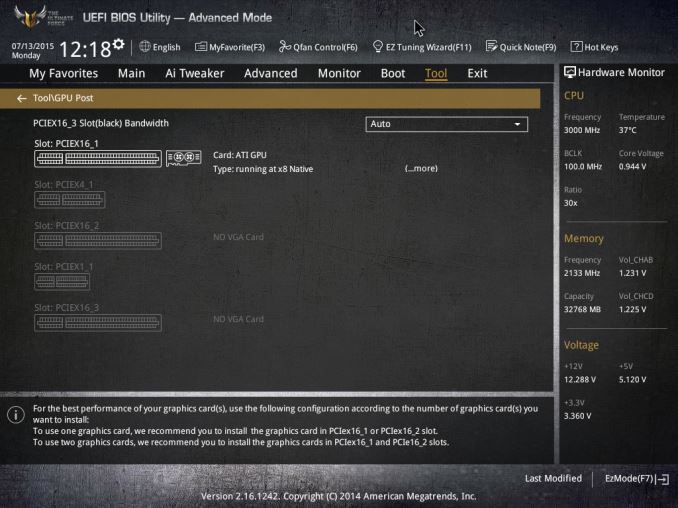
The Tools menu has options for flashing the BIOS as well as saving overclock profiles and DRAM SPD info. I want to point out the GPU Post option though:
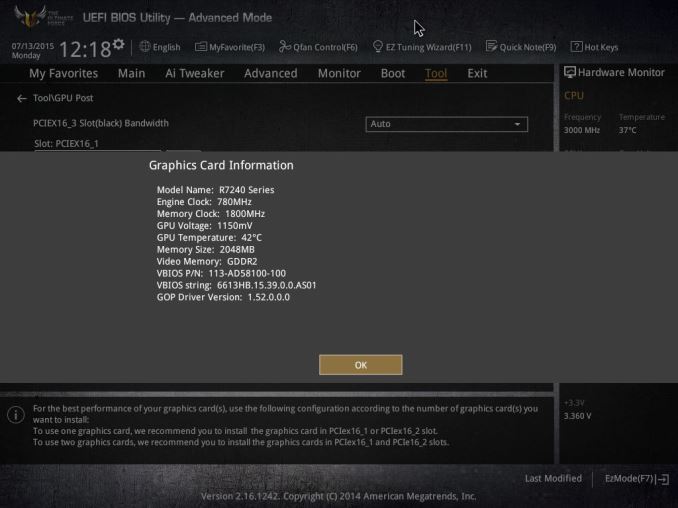
We’ve seen this before on ASUS motherboards, though this is the first time (I think) that I’ve seen the ‘more’ option connected to it. Selecting this gives the GPU information:
No doubt there is a way to include this in the GPU Post menu without having to select extra options, but as far as I can understand it is a fairly new feature. It didn’t detect the DDR3 on the graphics card correctly though!
As an aside, one of the things missing from the ASUS BIOS which other companies have is a full ‘Board Explorer’ mode which gives a picture of the motherboard and highlights what is installed where. ASUS kind of has this information already in the BIOS though it is split over different menus and options, rather than in one handy place. It might be worth looking at for the future.
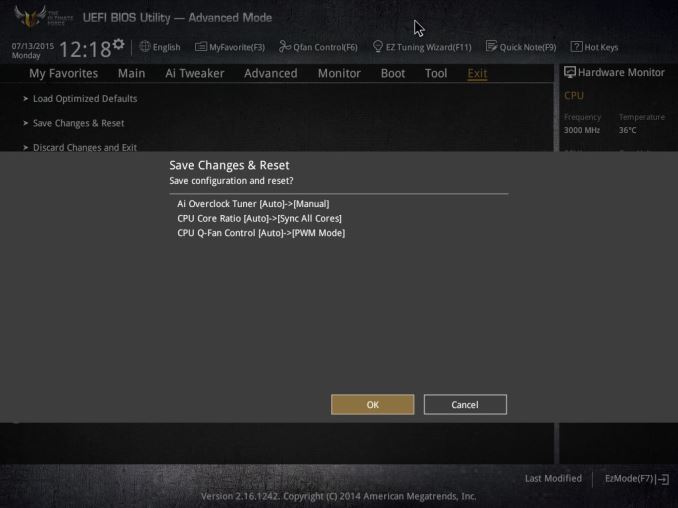
The final menu is the Save and Exit menu which also offers up a list of changes made since the system was booted.




57 Comments
View All Comments
Ryangadz - Friday, July 24, 2015 - link
X79 and x99 are more geared for workstations with more ram and larger CPUs for multithreading. You're right they are not going to give you much extra performance for games...if any. Until DX12 fully kicks in a CPU with higher clock speed is best.dog55 - Saturday, July 25, 2015 - link
I dont if all M2.PCI ssd card suffer from heat throttling but the samsungs do (951).So I was wondering if you could comment on the covered slot for the drive- does it cool?
Zertzable - Saturday, July 25, 2015 - link
I recently had to RMA my X58 Sabertooth, needless to say I was quite happy about the five year warranty. That board and the i7-980X are definitely the best investment I've ever made in a PC, five years down the line and I still have basically no reason to upgrade. Fun fact: not that I care, but this "dinosaur" doesn't even have USB 3!mpdugas - Sunday, July 26, 2015 - link
Curiously, my Sabertooth Gen3/Rev 2 for 990FX only lasted two years before (first) the sound sub-system and then (second) the IDE controller chip-set failed, taking with it two IDE drives (a data drive and a backup data drive).Not very impressive for a "reliable" product, and my first MB failure in 20 years of building my own PCs.
iamkyle - Tuesday, July 28, 2015 - link
What do you expect? There is no actual validation for this being a "durable" product, just marketing fluff to move units.martfine - Sunday, January 3, 2016 - link
Hi - your specs say ddr4 Ram speed up to 2400MHz but Asus indicated 3200MHz .... Or am I missing something??Friksie - Friday, September 4, 2020 - link
Ook ik had het pech dat de CPU Intel 6850K kapot ging en helaas buiten de garantie (3 Jaar) viel dus die zijn vrij duur.Maar ik weet niet of dit al iemand heeft doorgegeven dat het ook door de waterkoeling kan stuk gaan! na veel zoeken kwam ik erachter dat de pomp van de Fraktal 24 S niet meer draaide en dat zie je nergens want alles functioneerde n.l. normaal.
Ook die viel net buiten de 3 jarige (alleen de TUF versie) garantie van Fractal design.
Eerst denk je dat het aan het moederbord ligt want alles draait alleen het start niet meer op en nu maar zoeken.
Je kunt met de TUF via een Mobile software de problemen opsporen maar wie heeft dat allemaal!
Door een andere CPU te testen kwam ik erachter dat het daaraan moest liggen de CPU was dus doordat de pomp niet draaide en dus niet meer koelde oververhit geraakt en boem stuk ging.
Dus wees gewaarschuwd kijk af en toe de waterkoeling goed na.